Please Note: This article is written for users of the following Microsoft Word versions: 2007 and 2010. If you are using an earlier version (Word 2003 or earlier), this tip may not work for you. For a version of this tip written specifically for earlier versions of Word, click here: Printing Post Office Permits on Envelopes.
It is not uncommon for people who do lots of mailing to purchase a bulk-mail permit from the Post Office. You pay the local Post Office an annual fee, and they grant you a permit number that you can use for your mailings, in lieu of stamps. (You still have to pay them, of course. You just don't need to put a stamp on each piece you want to mail.)
With the permit in hand, it is normal to print the permit number in the upper right corner of the envelope, where the stamp is normally located. The verbiage is typically something like "US Postage Paid St. Louis, MO Permit No. 555." The exact wording can vary, depending on what you are mailing and the exact type of permit you are using.
You can either place the permit text within a text box, or you can create a graphic that contains the permit text. The text box or graphic can then be placed on the envelope you are using. If you are using Mail Merge to create your envelopes, you can place the graphic or text box on the envelope just before the merge, so it will be there on each created document.
If you plan on using a text box to hold your permit information, the following general steps will help in creating the envelopes properly:

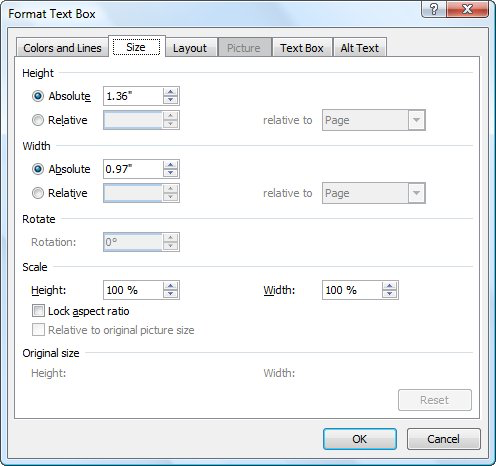
Figure 1. The Size tab of the Format Text Box dialog box.
That's it! Your placeholder is on your envelope, and you are ready to print. If you want to place a graphic on the envelope instead of a text box, then you can follow these general steps:

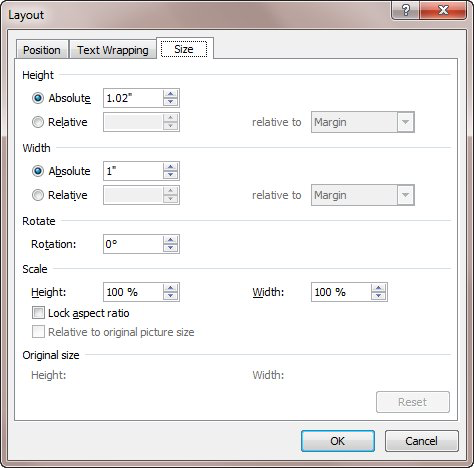
Figure 2. The Size tab of the Size dialog box.
You should now be able to print your envelopes (or do your Mail Merge) as desired.
WordTips is your source for cost-effective Microsoft Word training. (Microsoft Word is the most popular word processing software in the world.) This tip (11779) applies to Microsoft Word 2007 and 2010. You can find a version of this tip for the older menu interface of Word here: Printing Post Office Permits on Envelopes.

Comprehensive VBA Guide Visual Basic for Applications (VBA) is the language used for writing macros in all Office programs. This complete guide shows both professionals and novices how to master VBA in order to customize the entire Office suite for their needs. Check out Mastering VBA for Office 2010 today!
Word includes a feature that allows you to easily create and print envelopes, based on the addresses you insert in your ...
Discover MoreOne of the switches you can use with the index field allows you to specify how index entries should be separated from the ...
Discover MoreWhen Word creates envelopes for you, there may be times that you don't like where it places the return address. ...
Discover MoreFREE SERVICE: Get tips like this every week in WordTips, a free productivity newsletter. Enter your address and click "Subscribe."
There are currently no comments for this tip. (Be the first to leave your comment—just use the simple form above!)
Got a version of Word that uses the ribbon interface (Word 2007 or later)? This site is for you! If you use an earlier version of Word, visit our WordTips site focusing on the menu interface.
Visit the WordTips channel on YouTube
FREE SERVICE: Get tips like this every week in WordTips, a free productivity newsletter. Enter your address and click "Subscribe."
Copyright © 2025 Sharon Parq Associates, Inc.
Comments