Please Note: This article is written for users of the following Microsoft Word versions: 2007, 2010, 2013, 2016, 2019, 2021, and Word in Microsoft 365. If you are using an earlier version (Word 2003 or earlier), this tip may not work for you. For a version of this tip written specifically for earlier versions of Word, click here: Copying Fill Color in a Table.
April has a table in her Word document. One row is formatted with a custom color fill to match the company's logo color. April now wants to copy that fill color to other rows. She was hoping to use the Format Painter, but that just copies the text format, not the fill color used in the table cells. April wonders if there is a way to copy the fill color from one row to another.
There are a few ways that you can approach this issue. One is to simply use the tools that are available in Word. Follow these steps:
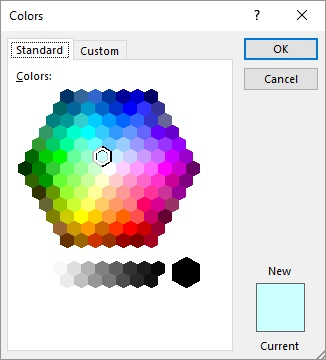
Figure 1. The Colors dialog box.
After you apply the desired color, if you want to apply it elsewhere (perhaps in another table or in some cells you missed), all you need to do is select the cells and press F4. The shading is repeated on the selected cells.
If you need to do this quite a bit with a number of tables or in a number of documents, you may want to consider using a macro to do the shading. A handy little macro is the one below:
Sub ShadeTable()
    Dim backColor As Long
    Dim foreColor As Long

    If Selection.Information(wdWithInTable) Then
        With Selection.Tables(1)
            backColor = .Cell(1, 1).Shading.BackgroundPatternColor
            foreColor = .Cell(1, 1).Shading.ForegroundPatternColor
            .Shading.BackgroundPatternColor = backColor
            .Shading.ForegroundPatternColor = foreColor
        End With
    Else
        MsgBox "Put the insertion point in a table"
    End If
End Sub
The macro shades an entire table based on the shading used in the first cell of the first row of the table. All you need to do is make sure you place the insertion point somewhere within the table before running it.
Note:
WordTips is your source for cost-effective Microsoft Word training. (Microsoft Word is the most popular word processing software in the world.) This tip (10932) applies to Microsoft Word 2007, 2010, 2013, 2016, 2019, 2021, and Word in Microsoft 365. You can find a version of this tip for the older menu interface of Word here: Copying Fill Color in a Table.

The First and Last Word on Word! Bestselling For Dummies author Dan Gookin puts his usual fun and friendly candor back to work to show you how to navigate Word 2019. Spend more time working and less time trying to figure it all out! Check out Word 2019 For Dummies today!
It is important to understand how column widths relate to the margins you may have set in your document. The reason is ...
Discover MoreFormatting tables can be very time consuming. When you get a document from another person, you can spend a lot of time ...
Discover MoreInsert a table in your document and Word assumes that you want borders around the table and its cells. Here's a shortcut ...
Discover MoreFREE SERVICE: Get tips like this every week in WordTips, a free productivity newsletter. Enter your address and click "Subscribe."
There are currently no comments for this tip. (Be the first to leave your comment—just use the simple form above!)
Got a version of Word that uses the ribbon interface (Word 2007 or later)? This site is for you! If you use an earlier version of Word, visit our WordTips site focusing on the menu interface.
Visit the WordTips channel on YouTube

FREE SERVICE: Get tips like this every week in WordTips, a free productivity newsletter. Enter your address and click "Subscribe."
Copyright © 2026 Sharon Parq Associates, Inc.
 Please Note:
This article is written for users of the following Microsoft Word versions: 2007, 2010, 2013, 2016, 2019, 2021, and Word in Microsoft 365. If you are using an earlier version (Word 2003 or earlier), this tip may not work for you. For a version of this tip written specifically for earlier versions of Word, click here:
Please Note:
This article is written for users of the following Microsoft Word versions: 2007, 2010, 2013, 2016, 2019, 2021, and Word in Microsoft 365. If you are using an earlier version (Word 2003 or earlier), this tip may not work for you. For a version of this tip written specifically for earlier versions of Word, click here:
Comments