Please Note: This article is written for users of the following Microsoft Word versions: 2007, 2010, 2013, 2016, 2019, and 2021. If you are using an earlier version (Word 2003 or earlier), this tip may not work for you. For a version of this tip written specifically for earlier versions of Word, click here: Creating Custom Document Properties.
Besides your actual document, Word also maintains quite a bit of statistical and overview information about your document. You can view a portion of this information by choosing the Properties option from the File menu. Word then displays the Properties dialog box for your document, and you can use the different tabs to view the information maintained.
In addition to the standard properties maintained by Word, you can create your own custom document properties. These can then be used within your document (using the DOCPROPERTY field) or within macros. To create a custom document property, start by displaying the Properties dialog box for the document. How you do this depends on the version of Word you are using. If you are using Word 2010 or a later version, follow these steps:
If you are using Word 2007, follow these steps:
Regardless of which version of Word you are using, make sure the Custom tab is selected. (See Figure 1.)
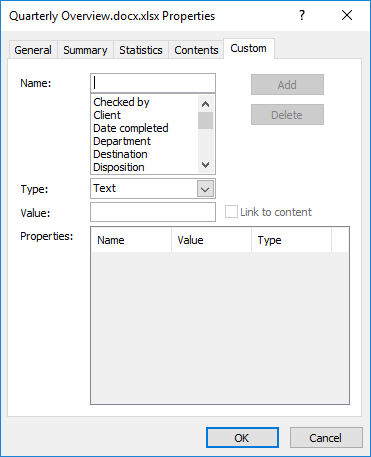
Figure 1. The Custom tab of the Properties dialog box.
From this point you can follow these steps:
WordTips is your source for cost-effective Microsoft Word training. (Microsoft Word is the most popular word processing software in the world.) This tip (12599) applies to Microsoft Word 2007, 2010, 2013, 2016, 2019, and 2021. You can find a version of this tip for the older menu interface of Word here: Creating Custom Document Properties.

Learning Made Easy! Quickly teach yourself how to format, publish, and share your content using Word 2021 or Microsoft 365. With Step by Step, you set the pace, building and practicing the skills you need, just when you need them! Check out Microsoft Word Step by Step today!
Word maintains a collection of descriptive properties for each document you create. One of these properties is the Title ...
Discover MoreWhen you save a file, the information from the start of the file is saved in the properties for the document and can be ...
Discover MoreDocument properties are used to define metadata that is stored with a document. If you need to often set document ...
Discover MoreFREE SERVICE: Get tips like this every week in WordTips, a free productivity newsletter. Enter your address and click "Subscribe."
2019-07-22 13:57:01
Gene Osten
Is it possible to have a Custom Property included on the "Properties" list (displayed when clicking on "File")?
Got a version of Word that uses the ribbon interface (Word 2007 or later)? This site is for you! If you use an earlier version of Word, visit our WordTips site focusing on the menu interface.
Visit the WordTips channel on YouTube

FREE SERVICE: Get tips like this every week in WordTips, a free productivity newsletter. Enter your address and click "Subscribe."
Copyright © 2026 Sharon Parq Associates, Inc.
 Please Note:
This article is written for users of the following Microsoft Word versions: 2007, 2010, 2013, 2016, 2019, and 2021. If you are using an earlier version (Word 2003 or earlier), this tip may not work for you. For a version of this tip written specifically for earlier versions of Word, click here:
Please Note:
This article is written for users of the following Microsoft Word versions: 2007, 2010, 2013, 2016, 2019, and 2021. If you are using an earlier version (Word 2003 or earlier), this tip may not work for you. For a version of this tip written specifically for earlier versions of Word, click here:
Comments