Please Note: This article is written for users of the following Microsoft Word versions: 2007, 2010, 2013, 2016, 2019, and 2021. If you are using an earlier version (Word 2003 or earlier), this tip may not work for you. For a version of this tip written specifically for earlier versions of Word, click here: Watermarks in Columns.
Gerald is creating some flyers in Word. The page is in landscape orientation, and he's configured the page to have two columns so that he can create two flyers on the same page. Gerald would like a watermark to appear on each of the two flyers, but Word insists on centering the watermark on the entire page instead of centering it in each column. He wonders if there is a way to get the watermark on each flyer like he needs.
There are all sorts of tricks that you can apply to get the watermarks where you want. For instance, you could hop out of Word and into a graphic editing program to "double up" your watermark in that program. Then, place the doubled image into Word as a watermark.
You could also simply insert two copies of the watermark graphic into the header area of the page. Modify the attributes of each graphic so that they are sized and positioned where you need them.
Another option is to not use columns at all but use a single-row, two-column table and place the information (including the watermark graphic) into each of the two cells. The graphic can be placed behind the text so it appears as a watermark. If you don't want to use the table, you could instead use two side-by-side text boxes to the same effect.
Perhaps the best solution, however, is to simply change how you are creating your flyers. The best (and easiest) solution I've found is to use these steps:
What happens at this point is that your two pages are scaled smaller and Word uses landscape orientation to print the two pages, side-by-side, on a single sheet of paper. If you don't want scaling in your output, then there is another approach. Before you start to create your flyer, do the following:
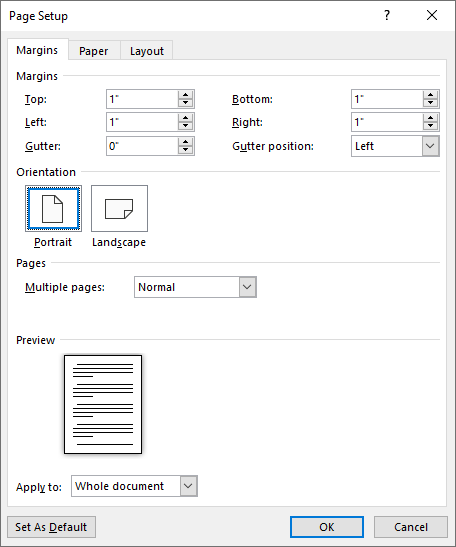
Figure 1. The Margins tab of the Page Setup dialog box.
If you follow these steps, you'll still need to create two copies of your flyer, but the watermark will be scaled and positioned on each copy automatically. Other elements are handled properly, as well, such as page borders, page numbering, and other page features.
WordTips is your source for cost-effective Microsoft Word training. (Microsoft Word is the most popular word processing software in the world.) This tip (8924) applies to Microsoft Word 2007, 2010, 2013, 2016, 2019, and 2021. You can find a version of this tip for the older menu interface of Word here: Watermarks in Columns.

Create Custom Apps with VBA! Discover how to extend the capabilities of Office 365 applications with VBA programming. Written in clear terms and understandable language, the book includes systematic tutorials and contains both intermediate and advanced content for experienced VB developers. Designed to be comprehensive, the book addresses not just one Office application, but the entire Office suite. Check out Mastering VBA for Microsoft Office 365 today!
Figuring out how you want the text in your document to appear on the printed page can sometimes be a bit perplexing. Word ...
Discover MoreDo you need to have your document fit within a certain number of pages? This can be close to impossible to do within ...
Discover MorePart of determining page layout is to specify the size of the margins that surround the text on a page. Word allows you ...
Discover MoreFREE SERVICE: Get tips like this every week in WordTips, a free productivity newsletter. Enter your address and click "Subscribe."
There are currently no comments for this tip. (Be the first to leave your comment—just use the simple form above!)
Got a version of Word that uses the ribbon interface (Word 2007 or later)? This site is for you! If you use an earlier version of Word, visit our WordTips site focusing on the menu interface.
Visit the WordTips channel on YouTube

FREE SERVICE: Get tips like this every week in WordTips, a free productivity newsletter. Enter your address and click "Subscribe."
Copyright © 2026 Sharon Parq Associates, Inc.
 Please Note:
This article is written for users of the following Microsoft Word versions: 2007, 2010, 2013, 2016, 2019, and 2021. If you are using an earlier version (Word 2003 or earlier), this tip may not work for you. For a version of this tip written specifically for earlier versions of Word, click here:
Please Note:
This article is written for users of the following Microsoft Word versions: 2007, 2010, 2013, 2016, 2019, and 2021. If you are using an earlier version (Word 2003 or earlier), this tip may not work for you. For a version of this tip written specifically for earlier versions of Word, click here:
Comments