Please Note: This article is written for users of the following Microsoft Word versions: 2007, 2010, 2013, 2016, 2019, 2021, and Word in Microsoft 365. If you are using an earlier version (Word 2003 or earlier), this tip may not work for you. For a version of this tip written specifically for earlier versions of Word, click here: Cut and Paste Formatting.
If you are copying a paragraph from one document to another, you may have noticed some strange font changes that occur in your pasted information. This is due to the way in which Word treats styles and their relation to formatting. Understanding how this relationship works can help you understand what will happen to your pasted information.
When you copy a paragraph from one document into another and it takes on a different appearance, the primary reason is because the paragraph being formatted is using a style name already defined in the new document, and that style uses different character formatting. You are using styles whether you want to or not, because Word relies on the Normal style (which is predefined) as the default paragraph style. So if the Normal style uses an Arial font in your source document and the Normal style uses a Courier font in your target document, when you paste a paragraph from the source to the target, it takes on the appearance of Courier font. If you have simply selected all the text in your target document and changed it from Courier to Arial at some time in the past, you still have not redefined the Normal style, and new text will still be affected by it.
Now that you understand how Word treats text being pasted into a document, you can make it behave differently by simply changing the way the Normal style is formatted. How you do this depends on the version of Word you are using. Follow these steps:
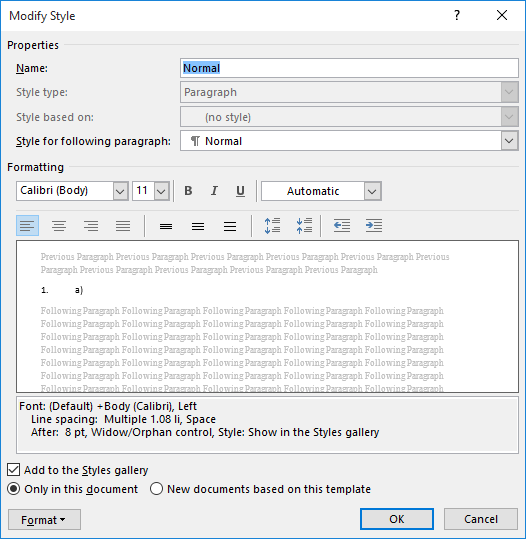
Figure 1. The Modify Style dialog box.
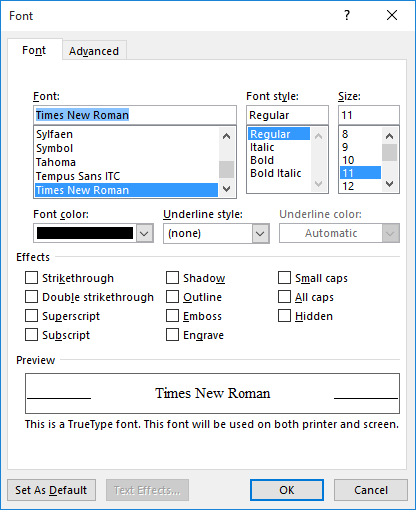
Figure 2. The Font dialog box.
The only exception to this style-conflict problem is if you have explicitly applied formatting to the source text. (For instance, you used the tools on the ribbon to format the text instead of relying on styles.) In this case, the formatting of your target will copy to the destination, but not always with the results you expect. For instance, if the source is formatted as bold Arial (and Arial is the default font for the source paragraph), and you copy it to the target where Courier is the default font, then you end up with bold Courier. Why? Because your explicit formatting (bold) was copied—nothing else. If, however, your target used Arial as a default font, but you had explicitly changed it to italics Palatino, then both the font (Palatino) and the attribute (italics) are copied to the target.
If you don't want to copy explicit formatting to your target document, the best way is to not use the regular Paste function (or Ctrl+V). Instead, use Paste Special and then specify that your selection be pasted as Unformatted Text.
WordTips is your source for cost-effective Microsoft Word training. (Microsoft Word is the most popular word processing software in the world.) This tip (8722) applies to Microsoft Word 2007, 2010, 2013, 2016, 2019, 2021, and Word in Microsoft 365. You can find a version of this tip for the older menu interface of Word here: Cut and Paste Formatting.

Learning Made Easy! Quickly teach yourself how to format, publish, and share your content using Word 2021 or Microsoft 365. With Step by Step, you set the pace, building and practicing the skills you need, just when you need them! Check out Microsoft Word Step by Step today!
Checking the grammar in a document can be complex, especially when it comes to advanced evaluations such as buried verbs. ...
Discover MoreEver wonder why you can't undo just a single edit you made a few minutes earlier? The short answer is that it could make ...
Discover MoreMost people use the Clipboard to copy and move text in Word. Before the Clipboard, Word used F2 to move text and Shift+F2 ...
Discover MoreFREE SERVICE: Get tips like this every week in WordTips, a free productivity newsletter. Enter your address and click "Subscribe."
There are currently no comments for this tip. (Be the first to leave your comment—just use the simple form above!)
Got a version of Word that uses the ribbon interface (Word 2007 or later)? This site is for you! If you use an earlier version of Word, visit our WordTips site focusing on the menu interface.
Visit the WordTips channel on YouTube

FREE SERVICE: Get tips like this every week in WordTips, a free productivity newsletter. Enter your address and click "Subscribe."
Copyright © 2026 Sharon Parq Associates, Inc.
 Please Note:
This article is written for users of the following Microsoft Word versions: 2007, 2010, 2013, 2016, 2019, 2021, and Word in Microsoft 365. If you are using an earlier version (Word 2003 or earlier), this tip may not work for you. For a version of this tip written specifically for earlier versions of Word, click here:
Please Note:
This article is written for users of the following Microsoft Word versions: 2007, 2010, 2013, 2016, 2019, 2021, and Word in Microsoft 365. If you are using an earlier version (Word 2003 or earlier), this tip may not work for you. For a version of this tip written specifically for earlier versions of Word, click here:
Comments