Please Note: This article is written for users of the following Microsoft Word versions: 2007, 2010, 2013, 2016, 2019, 2021, and Word in Microsoft 365. If you are using an earlier version (Word 2003 or earlier), this tip may not work for you. For a version of this tip written specifically for earlier versions of Word, click here: Compound List Formatting.
Written by Allen Wyatt (last updated February 12, 2026)
This tip applies to Word 2007, 2010, 2013, 2016, 2019, 2021, and Word in Microsoft 365
It is often quite handy to create lists of information that can be used in your documents. One sign of how popular (and common) lists are is Word's inclusion of the Numbering and Bullets tools on the formatting toolbar.
You may, however, want to create what I call a "compound format" for your lists. For instance, you may want the first word, phrase, or sentence of each list item shown in bold, or in bold italics. This is very common when using list items to define terms, such as in a glossary. The term being defined is shown in bold type, followed by a period, and then followed by a definition in regular type.
The next time you have a need to create lists that use "compound formatting" of this type, try out the following steps:
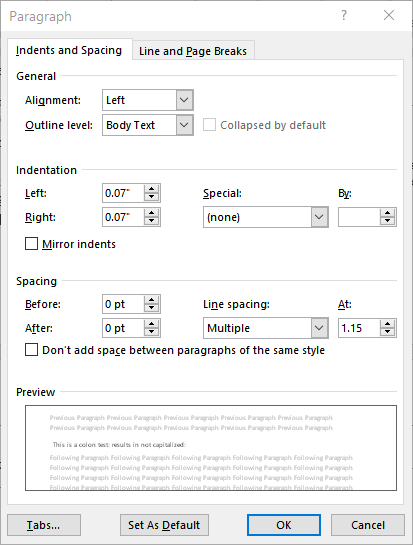
Figure 1. The Indents and Spacing tab of the Paragraph dialog box.
Now, when you start typing again, the first word, phrase, or sentence of the next list item—everything up to a valid terminator (see step 8)—uses the formatting you set in step 7, and the rest of the list item uses regular type.
If you try these steps on your system and they do not work, then check this out:
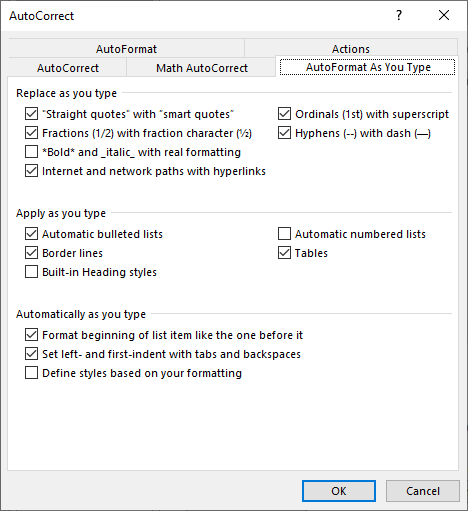
Figure 2. The AutoFormat As You Type tab of the AutoCorrect dialog box.
If the check box noted in step 5 is not selected, the steps presented earlier in this tip will not work.
WordTips is your source for cost-effective Microsoft Word training. (Microsoft Word is the most popular word processing software in the world.) This tip (10441) applies to Microsoft Word 2007, 2010, 2013, 2016, 2019, 2021, and Word in Microsoft 365. You can find a version of this tip for the older menu interface of Word here: Compound List Formatting.

The First and Last Word on Word! Bestselling For Dummies author Dan Gookin puts his usual fun and friendly candor back to work to show you how to navigate Word 2019. Spend more time working and less time trying to figure it all out! Check out Word 2019 For Dummies today!
Word allows you to format a paragraph so that it is on the same page as whatever paragraph follows it. You may want, ...
Discover MoreOne of the more common formatting tasks for paragraphs is to create hanging indents. This tip explains what they are and ...
Discover MoreIf you use hanging indents for some of your paragraphs, you may wonder why they don't look right when they wrap on the ...
Discover MoreFREE SERVICE: Get tips like this every week in WordTips, a free productivity newsletter. Enter your address and click "Subscribe."
There are currently no comments for this tip. (Be the first to leave your comment—just use the simple form above!)
Got a version of Word that uses the ribbon interface (Word 2007 or later)? This site is for you! If you use an earlier version of Word, visit our WordTips site focusing on the menu interface.
Visit the WordTips channel on YouTube

FREE SERVICE: Get tips like this every week in WordTips, a free productivity newsletter. Enter your address and click "Subscribe."
Copyright © 2026 Sharon Parq Associates, Inc.
 Please Note:
This article is written for users of the following Microsoft Word versions: 2007, 2010, 2013, 2016, 2019, 2021, and Word in Microsoft 365. If you are using an earlier version (Word 2003 or earlier), this tip may not work for you. For a version of this tip written specifically for earlier versions of Word, click here:
Please Note:
This article is written for users of the following Microsoft Word versions: 2007, 2010, 2013, 2016, 2019, 2021, and Word in Microsoft 365. If you are using an earlier version (Word 2003 or earlier), this tip may not work for you. For a version of this tip written specifically for earlier versions of Word, click here:
Comments