Please Note: This article is written for users of the following Microsoft Word versions: 2007, 2010, 2013, 2016, 2019, and 2021. If you are using an earlier version (Word 2003 or earlier), this tip may not work for you. For a version of this tip written specifically for earlier versions of Word, click here: Putting Bold Words in an Index.
Mori has a document that has "keywords" listed in boldface. He would like to create an index that includes these keywords. Mori wonders if there is a way to automatically mark all the bold phrases so they will appear in an index.
There are a couple of ways you can approach this task. Perhaps the easiest way is to take advantage of Word's AutoMark capability to create your index entries. The trick is to get your words—the ones you want into an index—into their own file. Here's an easy way to do that:
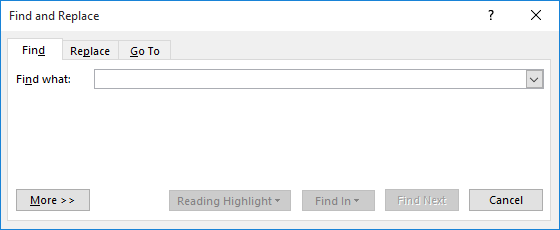
Figure 1. The Find tab of the Find and Replace dialog box.
With the words in their own document, you can easily sort them and look for any duplicates. Get rid of the duplicates so that you have a list of unique words and phrases, one per line. You then need to convert the words to a table; just select them, display the Insert tab of the ribbon, and choose Tables | Convert Text to Table. What you should end up with is a table that has a single column with your words and phrases in that column. (If you end up with multiple columns, you may want to undo the conversion and look for any Tab characters in the list of words and phrases. If you find them, delete them, as they trigger the conversion to add another column.)
With all your words and phrases in a single column, add a second column just to the right of the first one. For the AutoMark feature to work best, the first column needs to contain the words or phrases you want marked in the document and the second column needs to contain how you want those words and phrases to appear in the index.
For instance, you might have multiple variations of the same phrase in the first column, such as "tallied results," "tally results," "tallied responses," and "tally responses." If you want each of these to appear in the index under the phrase "tallying results," then you would place that phrase to the right of each of the original phrases. If you want the word or phrase in the left column to be the same word or phrase used in the index, then just copy it from the left column to the right column.
When you are done with your list, save the document. You can then use what you've created to AutoMark the original document, in this manner:
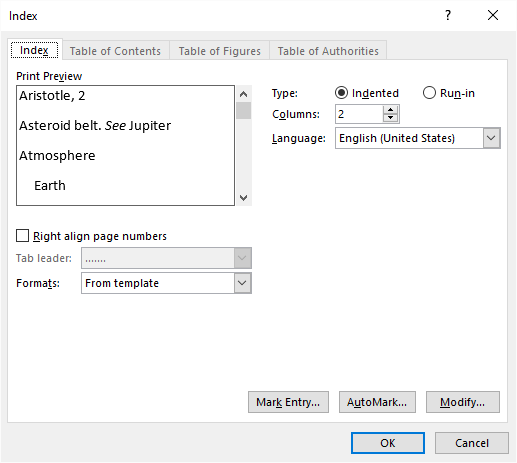
Figure 2. The Index tab of the Index dialog box.
That's it. Word uses your list of words as a "roadmap" to what it should mark in your document. When the AutoMark feature is done, you can then create your index as you desire.
If you prefer, you can use a macro to mark all the index entries in your document, based on whether the text is bold or not. The following example simply searches through a document for any bold text. If it locates that text, then it inserts an index entry there.
Sub InsertingIndexEntries()
    Application.ScreenUpdating = False

    'Go to the first page of the document
    Selection.HomeKey wdStory, wdMove

    'Set up the Find and Replace operation
    Selection.Find.ClearFormatting
    Selection.Find.Replacement.ClearFormatting
    With Selection.Find
        .Text = ""
        .Replacement.Text = ""
        .Forward = True
        .Wrap = wdFindContinue
        .Format = True
        .MatchWildcards = False
        .Font.Bold = True
    End With

    'Finds the bold text and inserts an index entry.
    Do
        Selection.Find.Execute
        If Selection.Find.Found Then
            'Checks if the Index field was selected
            'This occurs if it does not contain any entries
            If UCase(Selection.Range.Text) <> "NO INDEX ENTRIES FOUND." Then
                'Insert an index entry and use the text within
                'the selected range as the entry name
                ActiveDocument.Indexes.MarkEntry _
                  Range:=Selection.Range, _
                  Entry:=Selection.Range.Text, _
                  EntryAutoText:=Selection.Range.Text, _
                  CrossReference:="", _
                  CrossReferenceAutoText:="", _
                  BookmarkName:="", _
                  Bold:=False, _
                  Italic:=False, _
                  Reading:=""
                'Move past text that was found and the new index entry
                Selection.MoveRight wdCharacter, 1, wdExtend
                Selection.Collapse wdCollapseEnd
            End If
        End If
    Loop While Selection.Find.Found

    Application.ScreenUpdating = True
    Application.ScreenRefresh
End Sub
Remember that this macro finds any and all bold text in the document, including (possibly) places you may not expect. For instance, if you have some headings that are formatted as bold, those headings will be marked for the index, as well. Further, if you run the macro more than once, you may end up with multiple index entries for each bolded phrase or word. If you need to run it more than once, get rid of the existing index fields before you run it again.
Note:
WordTips is your source for cost-effective Microsoft Word training. (Microsoft Word is the most popular word processing software in the world.) This tip (10438) applies to Microsoft Word 2007, 2010, 2013, 2016, 2019, and 2021. You can find a version of this tip for the older menu interface of Word here: Putting Bold Words in an Index.

Learning Made Easy! Quickly teach yourself how to format, publish, and share your content using Word 2021 or Microsoft 365. With Step by Step, you set the pace, building and practicing the skills you need, just when you need them! Check out Microsoft Word Step by Step today!
Adding an index to a document can be a nice finishing touch, particularly if the document is a long one. What happens if ...
Discover MoreAdding an index to a document is an easy task. There are a couple of ways you can do it, as described in this tip.
Discover MoreWhen you construct an index you need to insert all sorts of index fields throughout your document. If you want to later ...
Discover MoreFREE SERVICE: Get tips like this every week in WordTips, a free productivity newsletter. Enter your address and click "Subscribe."
There are currently no comments for this tip. (Be the first to leave your comment—just use the simple form above!)
Got a version of Word that uses the ribbon interface (Word 2007 or later)? This site is for you! If you use an earlier version of Word, visit our WordTips site focusing on the menu interface.
Visit the WordTips channel on YouTube

FREE SERVICE: Get tips like this every week in WordTips, a free productivity newsletter. Enter your address and click "Subscribe."
Copyright © 2026 Sharon Parq Associates, Inc.
 Please Note:
This article is written for users of the following Microsoft Word versions: 2007, 2010, 2013, 2016, 2019, and 2021. If you are using an earlier version (Word 2003 or earlier), this tip may not work for you. For a version of this tip written specifically for earlier versions of Word, click here:
Please Note:
This article is written for users of the following Microsoft Word versions: 2007, 2010, 2013, 2016, 2019, and 2021. If you are using an earlier version (Word 2003 or earlier), this tip may not work for you. For a version of this tip written specifically for earlier versions of Word, click here:
Comments