Please Note: This article is written for users of the following Microsoft Word versions: 2007, 2010, 2013, 2016, 2019, 2021, and Word in Microsoft 365. If you are using an earlier version (Word 2003 or earlier), this tip may not work for you. For a version of this tip written specifically for earlier versions of Word, click here: Setting the Return Address Used in Word.
Every time Vicki opens Word to make an envelope, her return address is empty even though she asks Word to save the return address every time. The return address is retained for the current session, but as soon as Vicki exits Word it goes away and is blank the next time she starts the program.
The proper way to set the return address and make it stick is to follow these steps:
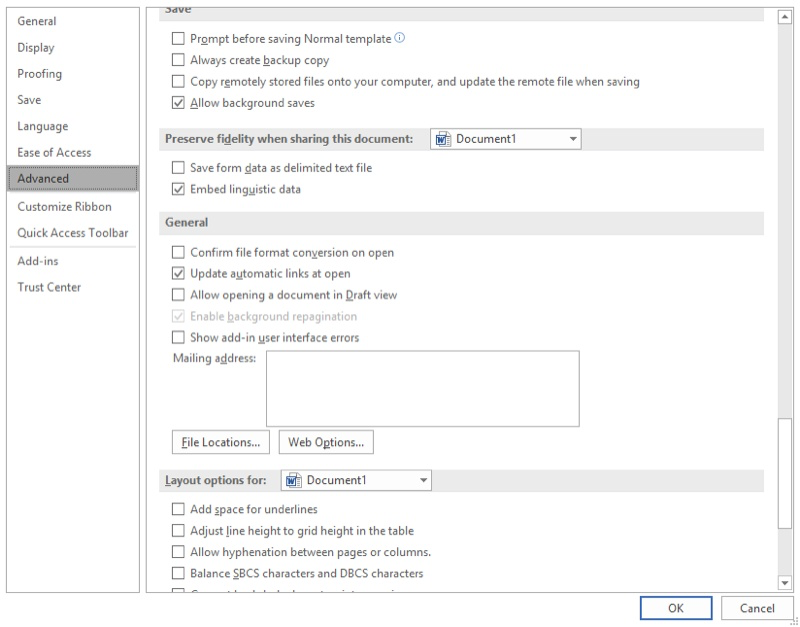
Figure 1. The General section of the advanced options of the Word Options dialog box.
Whenever you want to print an envelope, your return address (the one you entered will appear as the default. If this does not work, it could be that you have a corrupted document template. Outside of Word (in Windows) locate and rename the Normal template to something else, such as OldNormal. Restart Word, follow the steps outlined above, and try to print your envelopes.
WordTips is your source for cost-effective Microsoft Word training. (Microsoft Word is the most popular word processing software in the world.) This tip (6700) applies to Microsoft Word 2007, 2010, 2013, 2016, 2019, 2021, and Word in Microsoft 365. You can find a version of this tip for the older menu interface of Word here: Setting the Return Address Used in Word.

Discover the Power of Microsoft Office This beginner-friendly guide reveals the expert tips and strategies you need to skyrocket your productivity and use Office 365 like a pro. Mastering software like Word, Excel, and PowerPoint is essential to be more efficient and advance your career. Simple lessons guide you through every step, providing the knowledge you need to get started. Check out Microsoft Office 365 For Beginners today!
Want to save a bunch of envelopes in a single document so that you can print them all out as a group? Here's how to ...
Discover MoreWhen you create an envelope, Word assumes you want to use the font it has decided should be used for the envelope. If you ...
Discover MoreWhen printing envelopes, Word allows you to specify a return address to use on those envelopes. If you are frustrated ...
Discover MoreFREE SERVICE: Get tips like this every week in WordTips, a free productivity newsletter. Enter your address and click "Subscribe."
2024-03-30 13:38:17
Bill Beacom
I am using Word for Mac (MS 365), and I do not se any 'Word Option' feature. Apparently this option is not the same for Word for Mac. Is there any other Mac option?
I have noticed several times that options shown in these tips do not apply in Word for Mac. Is there any other Word for Mac Tips location?
Got a version of Word that uses the ribbon interface (Word 2007 or later)? This site is for you! If you use an earlier version of Word, visit our WordTips site focusing on the menu interface.
Visit the WordTips channel on YouTube

FREE SERVICE: Get tips like this every week in WordTips, a free productivity newsletter. Enter your address and click "Subscribe."
Copyright © 2026 Sharon Parq Associates, Inc.
 Please Note:
This article is written for users of the following Microsoft Word versions: 2007, 2010, 2013, 2016, 2019, 2021, and Word in Microsoft 365. If you are using an earlier version (Word 2003 or earlier), this tip may not work for you. For a version of this tip written specifically for earlier versions of Word, click here:
Please Note:
This article is written for users of the following Microsoft Word versions: 2007, 2010, 2013, 2016, 2019, 2021, and Word in Microsoft 365. If you are using an earlier version (Word 2003 or earlier), this tip may not work for you. For a version of this tip written specifically for earlier versions of Word, click here:
Comments