As an editor, Gillian likes to color-code sections of text for authors. She would, therefore, like to be able to create multiple keyboard shortcuts to highlight in different colors once she has selected text (e.g., Alt+G for green, Alt+B for blue, and Alt+Y for yellow). Gillian wonders if this is possible.
Yes, it is possible, but you'll need to use a macro to do the work. Before doing so, however, you'll need to figure out what shortcut keys you want to use. Gillian suggests using Alt+G, Alt+B, and Alt+Y. You can do this, but it may conflict with other uses of the Alt key (like accessing the ribbon tools from the keyboard). It may be better to use shortcut keys such as Shift+Alt+G, Shift+Alt+G, and Shift+Alt+Y.
To record a macro that sets text colors, just follow these steps:
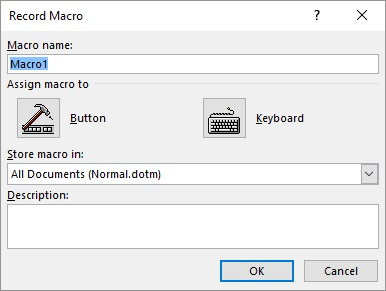
Figure 1. The Record Macro dialog box.
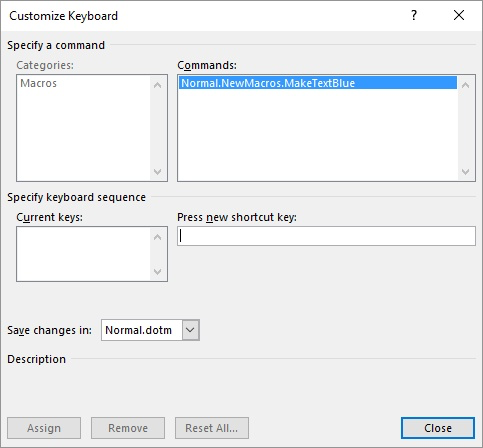
Figure 2. The Customize Keyboard dialog box.
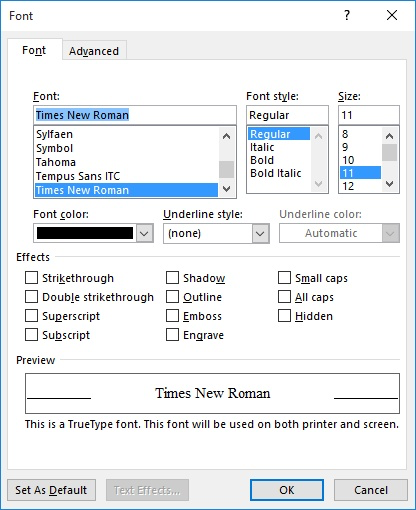
Figure 3. The Font dialog box.
At this point your macro is complete, and you can invoke it by selecting text and then pressing Shift+Alt+B. You can create similar macros to set your other colors, as desired.
There is one part of the above steps that needs to be explained. Note the way the Font dialog box is displayed in steps 10 through 12. You might think you can simply display the Home tab of the ribbon and use the tools located there to set the font color. The problem is that, in test, this didn't always result in the step (setting the color) being recorded by the macro recorder. The font on the screen changed color, but the step didn't show up in the macro. The only way to reliably set the font color and have it recorded in the macro was to display the Font dialog box, as noted.
If you were to examine the macro you just recorded, you would see that it looks like this:
Sub MakeTextBlue()
'
' MakeTextBlue Macro
'
'
    With Selection.Font
        .Name = "+Body"
        .Size = 11
        .Bold = False
        .Italic = False
        .Underline = wdUnderlineNone
        .UnderlineColor = wdColorAutomatic
        .StrikeThrough = False
        .DoubleStrikeThrough = False
        .Outline = False
        .Emboss = False
        .Shadow = False
        .Hidden = False
        .SmallCaps = False
        .AllCaps = False
        .Color = 12611584
        .Engrave = False
        .Superscript = False
        .Subscript = False
        .Spacing = 0
        .Scaling = 100
        .Position = 0
        .Kerning = 0
        .Animation = wdAnimationNone
        .Ligatures = wdLigaturesNone
        .NumberSpacing = wdNumberSpacingDefault
        .NumberForm = wdNumberFormDefault
        .StylisticSet = wdStylisticSetDefault
        .ContextualAlternates = 0
    End With
End Sub
If you think this is a long macro for a single step (setting the text color), you'd be right. It is a classic example of the macro recorder being overly comprehensive in what it records. You could easily pare down the macro to the following:
Sub MakeTextBlue()
    Selection.Font.Color = 12611584
End Sub
If you wanted even a bit more flexibility in the macro, you could also use the following:
Sub MakeTextBlue()
    Selection.Font.Color = RGB(0, 0, 255)
End Sub
You can then easily adjust the RGB value used for the color by playing with the three parameters used with the RGB function.
Note:
WordTips is your source for cost-effective Microsoft Word training. (Microsoft Word is the most popular word processing software in the world.) This tip (4269) applies to Microsoft Word 2007, 2010, 2013, 2016, 2019, 2021, and Word in Microsoft 365.

Learning Made Easy! Quickly teach yourself how to format, publish, and share your content using Word 2021 or Microsoft 365. With Step by Step, you set the pace, building and practicing the skills you need, just when you need them! Check out Microsoft Word Step by Step today!
Don't like the font that Word uses for a default in your new documents? You can pick a different font, but the way you ...
Discover MoreScaling the width of a font is easy to do with Word's formatting capabilities. Scaling the height of the fonts is not so ...
Discover MoreDrop caps can be a nice finishing touch for some types of documents. Word allows you to create three types of drop caps, ...
Discover MoreFREE SERVICE: Get tips like this every week in WordTips, a free productivity newsletter. Enter your address and click "Subscribe."
2025-02-03 21:06:54
Tim Heymans
Created a few macro's for different shades of grey lightyears ago. Now wanted to make a new one for BLUE text.
Messed around with chatGPT for half an hour to no avail.
Then found a link to this wonderful tutorial in my old notes. ...SUCCESS!!!!
Thank you, Alan Wyat. 🙏
Got a version of Word that uses the ribbon interface (Word 2007 or later)? This site is for you! If you use an earlier version of Word, visit our WordTips site focusing on the menu interface.
Visit the WordTips channel on YouTube

FREE SERVICE: Get tips like this every week in WordTips, a free productivity newsletter. Enter your address and click "Subscribe."
Copyright © 2026 Sharon Parq Associates, Inc.
Comments