When Pierre opens a document provided to him by another person, there are times that the document will use a font that is not installed on Pierre's system. He then sees a message that says "This font has not been installed. The closest available font will be printed." Pierre wonders how he can discover which font Word will actually substitute. He can find out what font is causing the problem, but he can't seem to discover which font is being substituted for that problem-causing font.
The easiest way to figure out what font substitution Word is doing in a document is to follow these steps:
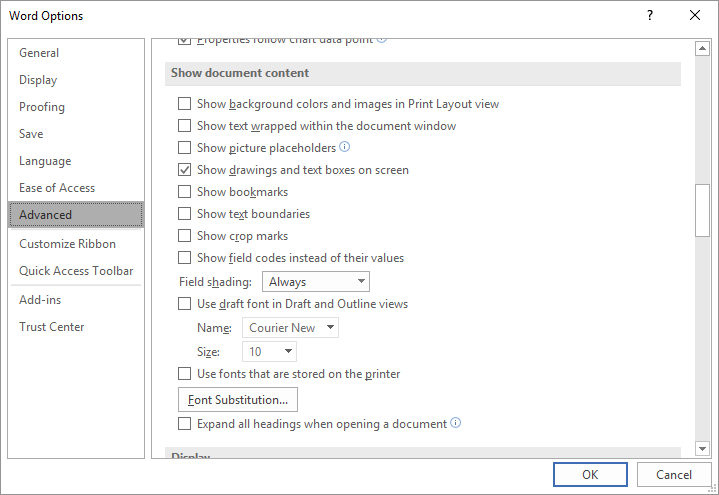
Figure 1. The Advanced options in the Word Options dialog box.
What happens at this point depends on whether there are substituted fonts in your document. If there are no font substitutions within the document, Word informs you and there is nothing more to do. If there are font substitutions, Word displays the Font Substitution dialog box. (See Figure 2.)
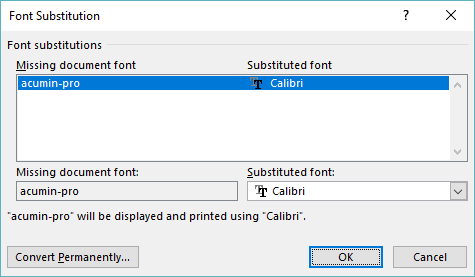
Figure 2. The Font Substitution dialog box.
The dialog box quickly shows you the missing fonts and what Word used to substitute for each missing font. If you pick one of the missing fonts, at the bottom of the dialog box you can specify a different font to be substituted, if desired.
Note, as well, the Convert Permanently button. This button is equivalent to doing a Find and Replace to change all the missing fonts to the specified replacement fonts. It obviously affects the formatting within your document, and no more on-the-fly substitutions will occur.
If you are interested in knowing which fonts are similar to a given font, then this online resource may be instructive:
http://www.identifont.com/similar.html
All you need to do is type in a font name and when you click the Go button, you'll see typefaces considered similar to the one you questioned.
WordTips is your source for cost-effective Microsoft Word training. (Microsoft Word is the most popular word processing software in the world.) This tip (12657) applies to Microsoft Word 2007, 2010, 2013, 2016, 2019, and 2021.

Learning Made Easy! Quickly teach yourself how to format, publish, and share your content using Word 2021 or Microsoft 365. With Step by Step, you set the pace, building and practicing the skills you need, just when you need them! Check out Microsoft Word Step by Step today!
Formatting some of your text as hidden can be a great help when you need to keep some things from being viewed or ...
Discover MoreIf you are applying character formatting directly to text rather than using a character style, you can copy it from one ...
Discover MoreA common use to which teachers put Word is to create tests and answer sheets. By imaginatively applying the features of ...
Discover MoreFREE SERVICE: Get tips like this every week in WordTips, a free productivity newsletter. Enter your address and click "Subscribe."
2024-04-19 06:11:47
jamies
Alternative is, well used to be
to include the font specification (file)
imbedded in the document itself.
I used to do that with the Keycaps font - that showed the actual (almost) image of the keys on a (large) MS/IBM device keyboard.
Very useful for how to - instruction documents.
But some printers may not allow what their software writer considered non-standard fonts,
in which case the font in the printer may be used
regardless on the fonts in the document,
or on the documents source system.
the one it was shipped from,
or the one it was sent to the printer from,
or the one managing the server "mode managed" print queue.
Got a version of Word that uses the ribbon interface (Word 2007 or later)? This site is for you! If you use an earlier version of Word, visit our WordTips site focusing on the menu interface.
Visit the WordTips channel on YouTube

FREE SERVICE: Get tips like this every week in WordTips, a free productivity newsletter. Enter your address and click "Subscribe."
Copyright © 2026 Sharon Parq Associates, Inc.
Comments