Don knows how to rotate a graphic using the mouse. He wonders, though, if there is a way to rotate a graphic using nothing but the keyboard.
The short answer is "not really." The reason for this is because before you can rotate a graphic you need to select it, and selecting can only be done (as far as I can tell) by using the mouse. If you've just clicked on the graphic to select it, your mouse pointer is already very close to the rotation handle, so you might as well use it to do the rotation.
That being said, after you select the graphic (again, using the mouse) you could use the Alt key, in conjunction with the left and right arrow keys, to rotate the graphic in 15-degree increments in the direction consistent with the arrow key used.
If you want a bit finer control over the rotation, you can follow this convoluted set of steps:
You could also set up a keyboard shortcut to directly display the options that appear when you press M. Follow these steps:
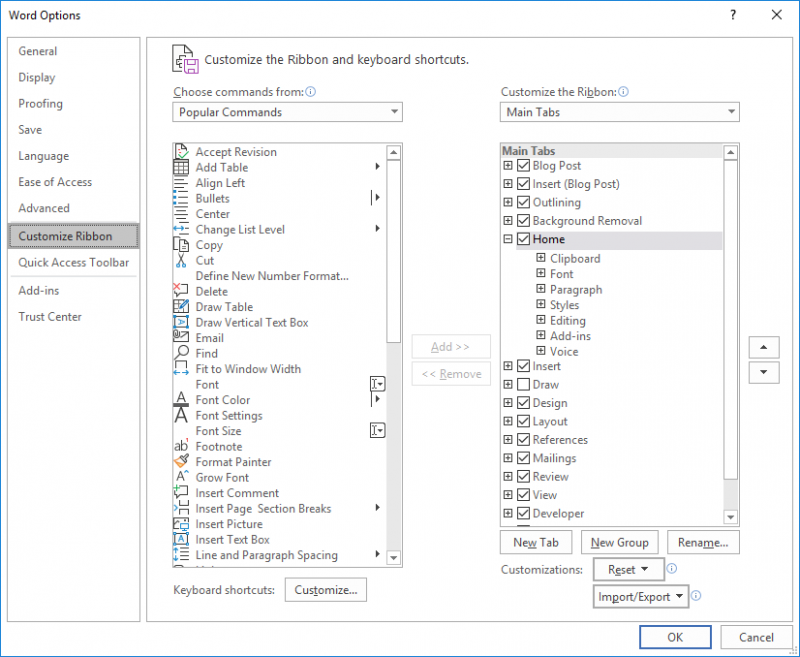
Figure 1. The Customize Ribbon options of the Word Options dialog box.
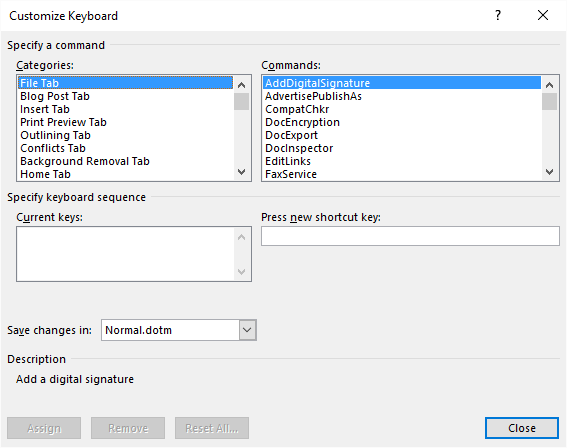
Figure 2. The Customize Keyboard dialog box.
Now, after selecting a graphic, you can jump right to the rotation options by pressing the shortcut key you defined in step 7.
Of course, you could also create a set of macros to do the rotations for you and then assign those macros to a set of keyboard shortcuts. The following consists of four macros, three of which can be used to easily rotate a graphic. The RotateCW1 and RotateCW5 macros rotate a graphic clockwise either 1 or 5 degrees. The RotateCCW5 macro rotates a graphic 5 degrees counterclockwise. All three graphics rely on the RotateShape macro to do the majority of the work.
Sub RotateCW1()
    RotateShape (1)
End Sub
Sub RotateCW5()
    RotateShape (5)
End Sub
Sub RotateCCW5()
    RotateShape (-5)
End Sub
Sub RotateShape(Degrees As Single)
    With Selection
        If .ShapeRange.Count = 0 And .Range.ShapeRange.Count = 0 Then
            MsgBox "No shape selected"
            Exit Sub
        End If
        If .ShapeRange.Count > 0 Then
            .ShapeRange.IncrementRotation Degrees
        Else
            .Range.ShapeRange(1).IncrementRotation Degrees
        End If
    End With
End Sub
Again, assign the RotateCW1, RotateCW5, and RotateCCW5 macros to shortcut keys and you can then directly rotate a selected graphic as desired.
Note:
WordTips is your source for cost-effective Microsoft Word training. (Microsoft Word is the most popular word processing software in the world.) This tip (12606) applies to Microsoft Word 2007, 2010, 2013, 2016, 2019, 2021, 2024, and Word in Microsoft 365.

Create Custom Apps with VBA! Discover how to extend the capabilities of Office 365 applications with VBA programming. Written in clear terms and understandable language, the book includes systematic tutorials and contains both intermediate and advanced content for experienced VB developers. Designed to be comprehensive, the book addresses not just one Office application, but the entire Office suite. Check out Mastering VBA for Microsoft Office 365 today!
Word allows you to insert graphics in two ways: either inline or floating. If you use inline graphics, you may want to ...
Discover MoreNeed to know how many graphics a document contains? Getting at the true number may take a little more work than it first ...
Discover MoreWord allows you to add watermarks to your documents. If you inherit a document that includes a watermark, you may be at a ...
Discover MoreFREE SERVICE: Get tips like this every week in WordTips, a free productivity newsletter. Enter your address and click "Subscribe."
There are currently no comments for this tip. (Be the first to leave your comment—just use the simple form above!)
Got a version of Word that uses the ribbon interface (Word 2007 or later)? This site is for you! If you use an earlier version of Word, visit our WordTips site focusing on the menu interface.
Visit the WordTips channel on YouTube

FREE SERVICE: Get tips like this every week in WordTips, a free productivity newsletter. Enter your address and click "Subscribe."
Copyright © 2026 Sharon Parq Associates, Inc.
Comments