Please Note: This article is written for users of the following Microsoft Word versions: 2007, 2010, 2013, 2016, 2019, and 2021. If you are using an earlier version (Word 2003 or earlier), this tip may not work for you. For a version of this tip written specifically for earlier versions of Word, click here: Showing Only Added Text with Track Changes.
When working with Track Changes while editing a document, you may want to configure Word so that you see only the text you are adding and that any text you delete is simply hidden. You can accomplish this by following these steps if you are using Word 2019 or Word in Office 365:
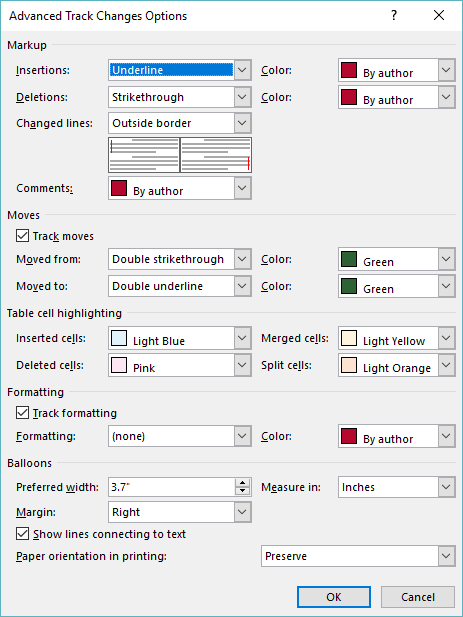
Figure 1. The Advanced Track Changes Options dialog box.
If you are using Word 2013 or Word 2016 then the steps are a bit different:
Follow these steps if you are using Word 2007 or Word 2010:
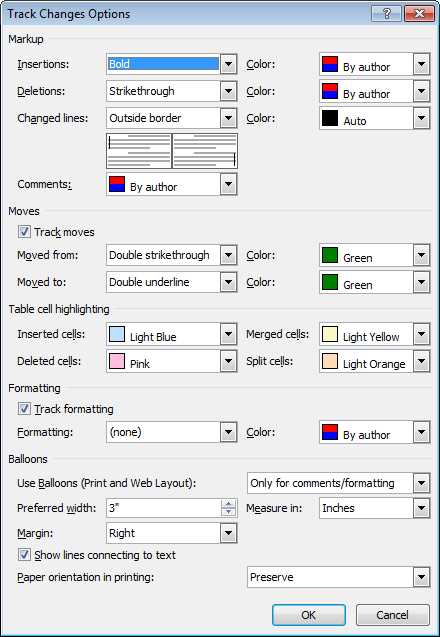
Figure 2. The Track Changes Options dialog box.
That's it; Word will now show your additions to the document but hide anything you delete. For some types of editing this can result in a much easier-to-understand document.
WordTips is your source for cost-effective Microsoft Word training. (Microsoft Word is the most popular word processing software in the world.) This tip (8340) applies to Microsoft Word 2007, 2010, 2013, 2016, 2019, and 2021. You can find a version of this tip for the older menu interface of Word here: Showing Only Added Text with Track Changes.

Do More in Less Time! An easy-to-understand guide to the more advanced features available in the Microsoft 365 version of Word. Enhance the quality of your documents and boost productivity in any field with this in-depth resource. Complete your Word-related tasks more efficiently as you unlock lesser-known tools and learn to quickly access the features you need. Check out Microsoft 365 Word For Professionals For Dummies today!
When you use Track Changes in a document, Word marks everything that changes. (Makes sense, huh?) If an editor makes a ...
Discover MoreTrack Changes is a great tool to use so that you can, well, "track" what changes are made during the development of a ...
Discover MoreThe Track changes feature in Word is a great help in editing documents, particularly if you are working with others or ...
Discover MoreFREE SERVICE: Get tips like this every week in WordTips, a free productivity newsletter. Enter your address and click "Subscribe."
2020-01-13 16:18:38
Caran
Joan, I think you need to find the style Comment Text and modify it to be a larger size. You might have to search for a hidden style if Comment Text style isn't in the list of styles.
2020-01-13 09:01:57
Joan D'Angelo
Is there a way to increase the size of comments only when using track changes/ When printing, the comments appear way smaller than the document and are difficult to read. Thank you.
Got a version of Word that uses the ribbon interface (Word 2007 or later)? This site is for you! If you use an earlier version of Word, visit our WordTips site focusing on the menu interface.
Visit the WordTips channel on YouTube

FREE SERVICE: Get tips like this every week in WordTips, a free productivity newsletter. Enter your address and click "Subscribe."
Copyright © 2026 Sharon Parq Associates, Inc.
 Please Note:
This article is written for users of the following Microsoft Word versions: 2007, 2010, 2013, 2016, 2019, and 2021. If you are using an earlier version (Word 2003 or earlier), this tip may not work for you. For a version of this tip written specifically for earlier versions of Word, click here:
Please Note:
This article is written for users of the following Microsoft Word versions: 2007, 2010, 2013, 2016, 2019, and 2021. If you are using an earlier version (Word 2003 or earlier), this tip may not work for you. For a version of this tip written specifically for earlier versions of Word, click here:
Comments