SmartArt is a type of graphical tool included in the latest versions of Word. SmartArt is, basically, a way to make organized presentation art. (Some folks think that SmartArt was created as a tool primarily for PowerPoint.) It is suitable for "organizational" types of artwork, such as organization charts and process lists.
To insert a piece of SmartArt into your document, display the Insert tab of the ribbon. In the Illustrations group, click the SmartArt tool. Word displays the Choose a SmartArt Graphic dialog box. (See Figure 1.)
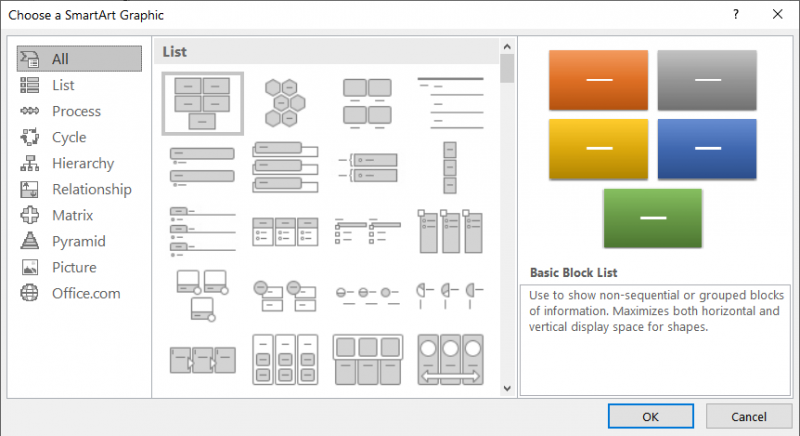
Figure 1. The Choose a SmartArt Graphic dialog box.
Notice that at the left side of the dialog box there are a number of different categories. Each category represents a number of different SmartArt layouts that you can choose from based on the desired purpose of the graphic you want to create.
There are two additional categories available in Word 2010 and later versions of Word that aren't in Word 2007: Picture and Office.com. The Picture category is intended to help you use pictures in your SmartArt layout. The Office.com category isn't really a category, but a way to get additional layouts online.
Once you know which category you want to use, click it, and then click one of the layouts in that category. Click on OK, and Word inserts the SmartArt into your document. A text pane also opens up right next to the SmartArt. You place the information you want to appear in the artwork in this text pane.
When you are done entering the text for the artwork (what you enter or can enter depends on the type of SmartArt you are creating), click outside the SmartArt graphic, elsewhere in your document. The text pane disappears, and Word rearranges your text to fit properly in the available layout space.
WordTips is your source for cost-effective Microsoft Word training. (Microsoft Word is the most popular word processing software in the world.) This tip (9386) applies to Microsoft Word 2007, 2010, 2013, 2016, 2019, and 2021.

Learning Made Easy! Quickly teach yourself how to format, publish, and share your content using Word 2021 or Microsoft 365. With Step by Step, you set the pace, building and practicing the skills you need, just when you need them! Check out Microsoft Word Step by Step today!
Word allows you to add images to your documents. If you send those documents to others, you may run across a problem that ...
Discover MoreNeed your hide some of the outside edges of a graphic? You can instruct Word to crop (or hide) those outside edges by ...
Discover MoreNavigating the perplexing world of accessibility requirements can be confusing. This tip provides some guidance on how to ...
Discover MoreFREE SERVICE: Get tips like this every week in WordTips, a free productivity newsletter. Enter your address and click "Subscribe."
There are currently no comments for this tip. (Be the first to leave your comment—just use the simple form above!)
Got a version of Word that uses the ribbon interface (Word 2007 or later)? This site is for you! If you use an earlier version of Word, visit our WordTips site focusing on the menu interface.
Visit the WordTips channel on YouTube

FREE SERVICE: Get tips like this every week in WordTips, a free productivity newsletter. Enter your address and click "Subscribe."
Copyright © 2026 Sharon Parq Associates, Inc.
Comments