Alicia uses shortcut keys quite a bit in Word. She also relies on Print Preview very often. Alicia knows she can press Ctrl+F2 to display the Print settings, which has Print Preview to the right of those settings. However, to make Print Preview active (so Page Up and Page Down will work), she then needs to use the mouse to click on it or she needs to press the Tab key 13 times. Alicia wonders if there is a shortcut key that will display the document in Print Preview and make the Print Preview active.
There are a good number of ways you can approach this problem. One is to simply use a few different shortcut keys. When you press Ctrl+F2 to display the Print settings, you could then press Alt+P to display some on-screen helps and then Alt+V, which activates the Print Preview area. (That's a lot easier than pressing Tab so many times!)
Another approach is to add the proper Print Preview command to your Quick Access Toolbar:
When adding the Print Preview Edit Mode tool to your Quick Access Toolbar, make sure it is one of the first nine tools there. If it is, you can easily access it without removing your fingers from the keyboard. For instance, if the tool is the third one on the Quick Access Toolbar, you can press Alt (which displays small shortcut icons next to various parts of the Word interface) and then press 3 to invoke the Print Preview Edit Mode.
You should note that this command (Print Preview Edit Mode) is a bit different than the Print Preview invoked when you press Ctrl+F2. It doesn't display the Print settings, but is simply a different "view" for your document—the Print Preview view. You can move around and make edits in the document while in this view, and you exit it by simply pressing the Esc key.
If you like using the Print Preview Edit Mode tool, you can bypass the Quick Access Toolbar completely by simply assigning a shortcut key to the command. Follow these steps:
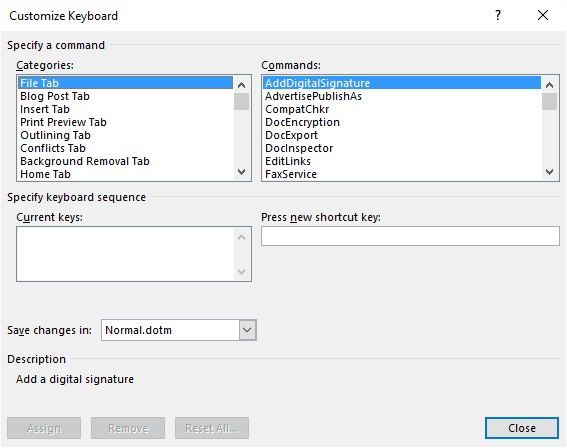
Figure 1. The Customize Keyboard dialog box.
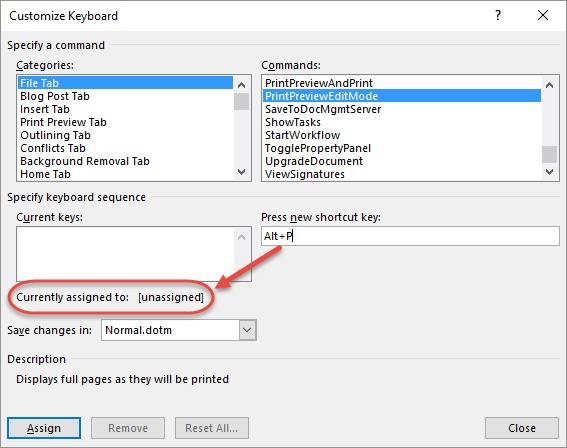
Figure 2. Check to make sure the selected shortcut key is unassigned.
If you prefer, you can create a macro that invokes the equivalent of the Print Preview Edit Mode tool. You could then assign the macro to a shortcut key, as desired. Here's the short and sweet macro:
Sub MyPrintPreview()
    If Application.PrintPreview = False Then
        ActiveDocument.PrintPreview
    End If
End Sub
Note:
WordTips is your source for cost-effective Microsoft Word training. (Microsoft Word is the most popular word processing software in the world.) This tip (2773) applies to Microsoft Word 2007, 2010, 2013, and 2016.

Create Custom Apps with VBA! Discover how to extend the capabilities of Office 365 applications with VBA programming. Written in clear terms and understandable language, the book includes systematic tutorials and contains both intermediate and advanced content for experienced VB developers. Designed to be comprehensive, the book addresses not just one Office application, but the entire Office suite. Check out Mastering VBA for Microsoft Office 365 today!
Many users rely on Print Preview to show them what their printout will look like. When using Print Preview, you aren't ...
Discover MoreFREE SERVICE: Get tips like this every week in WordTips, a free productivity newsletter. Enter your address and click "Subscribe."
2022-04-25 17:38:21
Liz McDowell
You could also try using Control+Alt+P
Got a version of Word that uses the ribbon interface (Word 2007 or later)? This site is for you! If you use an earlier version of Word, visit our WordTips site focusing on the menu interface.
Visit the WordTips channel on YouTube

FREE SERVICE: Get tips like this every week in WordTips, a free productivity newsletter. Enter your address and click "Subscribe."
Copyright © 2026 Sharon Parq Associates, Inc.
Comments