Sheryl often adds screen shot images to her documents, and then she formats them so that text wraps top and bottom for the image. She may then overlay the screen shot with another image, such as an arrow. These two items should then be grouped so that they don't move in relation to each other. When Sheryl groups them, Word changes the new group back to inline, so she has to go through and again set the text wrap to "top and bottom." She wonders why Word changes the wrapping on the image simply because she creates the group.
From everything we can tell, the reason this happens is actually quite simple. Before getting to the reason, though, there is one thing that should be cleared up: Chances are very good that grouping the images doesn't actually change the group back to inline. In Word, grouped images cannot be inline; they must be floating. There is no doubt that the text wrapping for Sheryl's images are changing when she groups them, but the change is probably to something like "In Front of Text" or maybe even "Tight."
Which brings me to the reason that the change is occurring in the first place. When you group images and those images use different text wrapping settings, Word needs to decide which wrapping setting should be used for the resulting group. How it does this is to use the settings for whatever image was last selected before the grouping command was executed.
For instance, let's say that you want to group two images together. You select the first image, and it has text wrap set to "Top and Bottom." You then hold down the Shift key as you click on the second image, which happens to have text wrap set to "In Front of Text." (This is particularly likely if the second image is a built-in Word shape—like an arrow—which typically uses "In Front of Text" as the default wrapping.) When you group the images, it is the wrapping settings from the second image ("In Front of Text") that Word applies to the group.
There are three possible solutions to this. The first is to change the order in which you select the images you want in the group. Make sure that the last item you select has the wrapping settings you want used by Word for the group you are creating.
The second possible solution is to change the default wrapping settings that you want used with images.
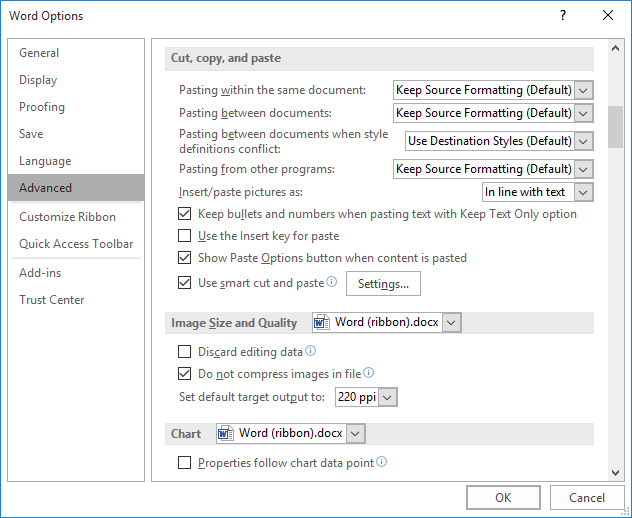
Figure 1. The advanced settings of the Word Options dialog box.
Now, when you insert shapes (such as arrows) they should match your desired text wrapping and there is less likelihood that your image groups will have dissimilar wrapping settings.
The final potential solution is to simply change how you create your graphics. Instead of trying to layer and group multiple images in Word, do the image processing in a different program—a graphics program—and then place a single, edited image back into your Word document. That will result in a much easier to maintain document that provides less opportunity for the graphics to misbehave.
WordTips is your source for cost-effective Microsoft Word training. (Microsoft Word is the most popular word processing software in the world.) This tip (1704) applies to Microsoft Word 2007, 2010, 2013, 2016, 2019, 2021, and Word in Microsoft 365.

Learning Made Easy! Quickly teach yourself how to format, publish, and share your content using Word 2021 or Microsoft 365. With Step by Step, you set the pace, building and practicing the skills you need, just when you need them! Check out Microsoft Word Step by Step today!
Got a bunch of graphics in a document that need replacing? (Perhaps you need to replace an old logo with a new one.) Word ...
Discover MoreYou can use the Find and Replace feature of Word to replace inline graphics with other graphics. This tip explains how ...
Discover MoreDocuments are often made up of more than just text. If you have drawing objects in your document, you will doubtless need ...
Discover MoreFREE SERVICE: Get tips like this every week in WordTips, a free productivity newsletter. Enter your address and click "Subscribe."
2024-05-25 08:35:44
Veronica Pavia
Re: final solution for text wrapping of grouped images in Word. There is another way to accomplish this without having to resort to an outside program that the user might not have. I start a new Word document and group the images and shapes there. Then I select and copy the entire group and paste it as a picture in the location in the Word document where it is required.
Got a version of Word that uses the ribbon interface (Word 2007 or later)? This site is for you! If you use an earlier version of Word, visit our WordTips site focusing on the menu interface.
Visit the WordTips channel on YouTube

FREE SERVICE: Get tips like this every week in WordTips, a free productivity newsletter. Enter your address and click "Subscribe."
Copyright © 2026 Sharon Parq Associates, Inc.
Comments