Copying Red Text to a New Document

Written by Allen Wyatt (last updated March 23, 2024)

Zikica has a document containing quite a few text selections that are formatted as red. He would like a way to select all instances of the red text and copy that text to a new document. He wonders if this is best done with a macro or if there is some other way to accomplish the task.

Before getting to use of a macro to accomplish the task, let's look at a few ways you can do it without using a macro. The first is to use the Find and Replace capabilities of Word by following these steps:

  1. Open a new document. (This is the document to which you will copy your red text.)
  2. Switch back to your original document.
  3. Press Ctrl+H. Word displays the Replace tab of the Find and Replace dialog box.
  4. Click the Find tab.
  5. Click the More button, if it is available. The dialog box expands. (See Figure 1.)
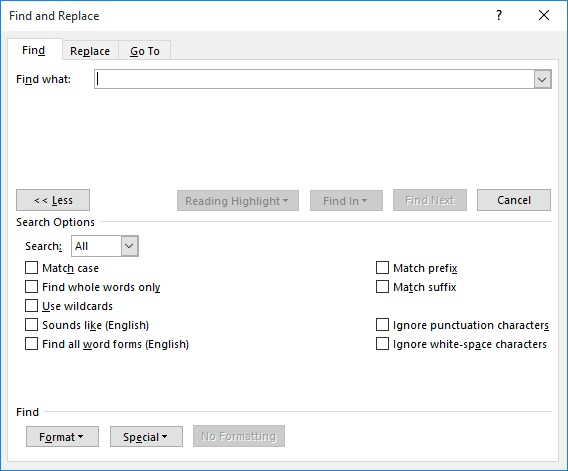
  6. Figure 1. The Find tab of the Find and Replace dialog box.

  7. If the No Formatting button is available, click it. This gets rid of any formatting you may have search for previously.
  8. Make sure the Find box is empty.
  9. Click the Format button and then click Font. Word displays the Find Font dialog box. (See Figure 2.)
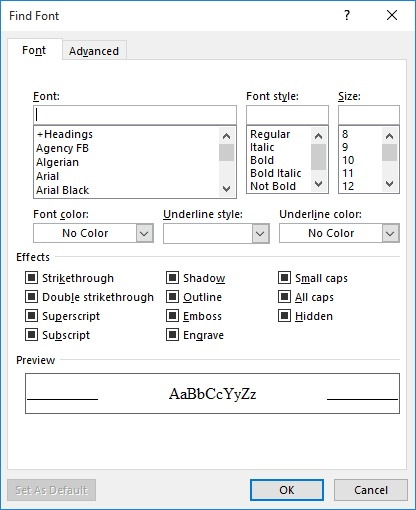
  10. Figure 2. The Find Font dialog box.

  11. Click the Font Color drop-down list and choose the shade of red you used in your document.
  12. Click OK to close the Find Font dialog box. Word displays the color information right under the Find box.
  13. Click the Find In drop-down list and choose Main Document. Word selects all instances of the red text within the document, and it shows you in the dialog box how many instances it found.
  14. Click Close to dismiss the Find and Replace dialog box. All of the instances of red text should still be selected.
  15. Press Ctrl+C. This copies all the text to the Clipboard.
  16. Switch to the new document.
  17. Press Ctrl+V. Word pastes all the red text to the new document.

You could also use Find and Replace in a different way to arrive at a similar solution. In this approach, you start by making a copy of the document and then do your work with that copy:

  1. Press Ctrl+H. Word displays the Replace tab of the Find and Replace dialog box.
  2. Click the More button, if it is available. The dialog box expands. (See Figure 3.)
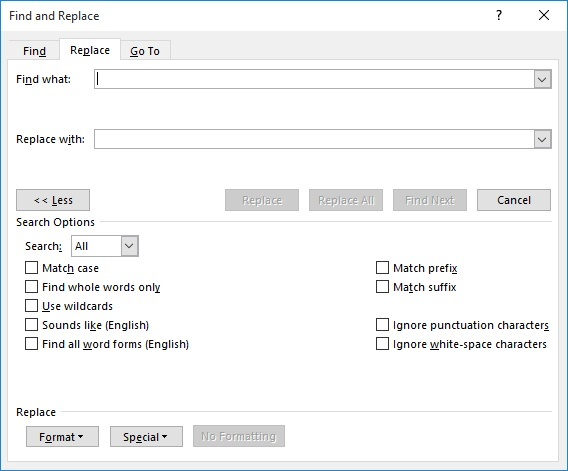
  3. Figure 3. The Replace tab of the Find and Replace dialog box.

  4. Make sure the Find box is empty and the insertion point is in that box.
  5. Click the Format button and then click Font. Word displays the Find Font dialog box.
  6. Click the Font Color drop-down list and choose Automatic.
  7. Click OK to close the Find Font dialog box. Word displays the color information right under the Find box.
  8. Make sure the Replace With box is empty.
  9. Click Replace All. Word displays a dialog box informing you how many replacements it made.
  10. Click OK to dismiss the information dialog box.
  11. Click Close to dismiss the Find and Replace dialog box.

This approach removes all non-red text in the document, leaving just the red. (This assumes that you only have regular text and red text in the document. If you have other colors you want gone, you'll need to repeat the steps and specify a different color to remove in step 5.) The one drawback to this approach is that ALL non-red text is removed, which also may include end-of-paragraph markers, so your red text may all appear run together in a single paragraph.

Another way to copy the red text to a different document is to bypass Find and Replace and use a different tool. Follow these steps:

  1. Open a new document. (This is the document to which you will copy your red text.)
  2. Switch back to your original document.
  3. Position the insertion point somewhere within your red text.
  4. Display the Home tab of the ribbon.
  5. In the Editing group, click the Select tool and then choose Select All Text with Similar Formatting. Word selects all the similarly formatted red text in your document.
  6. Press Ctrl+C. This copies all the text to the Clipboard.
  7. Switch to the new document.
  8. Press Ctrl+V. Word pastes all the red text to the new document.

If you have to do this type of editing quite often, you may want to create a macro that will accomplish the task for you. There are multiple ways this could be done, but the following will suffice to show the concept. It creates a variable array for all the red text in the document, creates a new document, and then inserts the variable array's text into the new document.

Sub CopyRedTextToNewDoc()
    Dim i As Integer
    Dim a() As Variant
    Dim sFound As String

    Selection.Find.ClearFormatting
    Selection.Find.Font.Color = wdColorRed
    With Selection.Find
        .Text = ""
        .Replacement.Text = ""
        .Forward = True
        .Wrap = wdFindContinue
        .Format = True
        .MatchCase = False
        .MatchWholeWord = False
        .MatchWildcards = False
        .MatchSoundsLike = False
        .MatchAllWordForms = False
    End With
    Selection.Find.Execute

    Do While Selection.Find.Found
        ReDim Preserve a(i)
        sFound = Selection

        If Asc(Right(sFound, 1)) <> 13 Then
            sFound = sFound & vbCrLf
        End If

        a(i) = sFound
        i = i + 1
        Selection.Find.Execute
   Loop

    Application.Documents.Add
    For i = LBound(a) To UBound(a)
        ActiveDocument.Range.InsertAfter a(i)
    Next

    ' If you don't want the text in the new document to be red,
    ' remove the following three lines or comment them out
    Selection.WholeStory
    Selection.Font.Color = wdColorRed
    Selection.Collapse
End Sub

Note:

If you would like to know how to use the macros described on this page (or on any other page on the WordTips sites), I've prepared a special page that includes helpful information. Click here to open that special page in a new browser tab.

WordTips is your source for cost-effective Microsoft Word training. (Microsoft Word is the most popular word processing software in the world.) This tip (379) applies to Microsoft Word 2007, 2010, 2013, 2016, 2019, 2021, and Word in Microsoft 365.

Author Bio

Allen Wyatt

With more than 50 non-fiction books and numerous magazine articles to his credit, Allen Wyatt is an internationally recognized author. He is president of Sharon Parq Associates, a computer and publishing services company. ...

MORE FROM ALLEN

Counting Month Ends

When working with dates in a worksheet, you may need to do some rather esoteric calculations on those dates. This tip ...

Discover More

Avoiding a Section Break Booby Trap

Section breaks got your document formatting all messed up? It could be because of the way you added the section breaks in ...

Discover More

Controlling Display of Page Breaks

Do you want page breaks displayed on the screen? Excel allows you to specify whether it should show those page breaks or not.

Discover More

Do More in Less Time! An easy-to-understand guide to the more advanced features available in the Microsoft 365 version of Word. Enhance the quality of your documents and boost productivity in any field with this in-depth resource. Complete your Word-related tasks more efficiently as you unlock lesser-known tools and learn to quickly access the features you need. Check out Microsoft 365 Word For Professionals For Dummies today!

More WordTips (ribbon)

Replacing Random Text with Your Own Text

Word includes a little-known function that allows you to put "filler text" into your document. If you want this function ...

Discover More

Changing Smart Quotes to Primes

Smart quotes can be helpful in giving your document a more finished look, but you may not want them after any of the ...

Discover More

Understanding Hyphens and Dashes

Word provides you with three types of hyphens and two types of dashes that you can use in your documents. Understanding ...

Discover More
Subscribe

FREE SERVICE: Get tips like this every week in WordTips, a free productivity newsletter. Enter your address and click "Subscribe."

View most recent newsletter.

Comments

If you would like to add an image to your comment (not an avatar, but an image to help in making the point of your comment), include the characters [{fig}] (all 7 characters, in the sequence shown) in your comment text. You’ll be prompted to upload your image when you submit the comment. Maximum image size is 6Mpixels. Images larger than 600px wide or 1000px tall will be reduced. Up to three images may be included in a comment. All images are subject to review. Commenting privileges may be curtailed if inappropriate images are posted.

What is five minus 2?

There are currently no comments for this tip. (Be the first to leave your comment—just use the simple form above!)


This Site

Got a version of Word that uses the ribbon interface (Word 2007 or later)? This site is for you! If you use an earlier version of Word, visit our WordTips site focusing on the menu interface.

Videos
Subscribe

FREE SERVICE: Get tips like this every week in WordTips, a free productivity newsletter. Enter your address and click "Subscribe."

(Your e-mail address is not shared with anyone, ever.)

View the most recent newsletter.