Written by Allen Wyatt (last updated January 7, 2023)
This tip applies to Word 2007, 2010, 2013, 2016, 2019, 2021, and Word in Microsoft 365
Whenever Kathleen changes the language in a document, the change doesn't apply to the text in footnotes and text boxes. She wonders how she can change the language of a document so that the language for the entire document—including footnotes and text boxes—is changed.
Kathleen doesn't specify how she is trying to change the language used in a document, but there are two general ways that most people go about this. One way is to follow these steps:
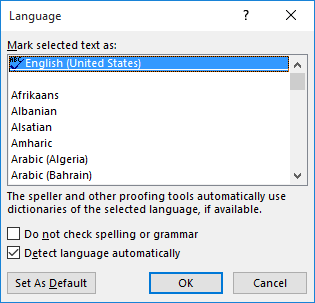
Figure 1. The Language dialog box.
This approach works fine if you have a simple document, but it is not the best method. The reason is because it doesn't affect many parts of the document, such as headers, footers, footnotes, endnotes, and miscellaneous text (like the text in text boxes).
The best approach involves changing the style definitions used in the document. This is a better approach because Word always (whether you specifically tell it to or not) applies styles to the various pieces and parts of text used in the document. If you change the definition of the style, then any text that uses that style is affected automatically. Here are the general steps to following in specifying a language for a particular style:
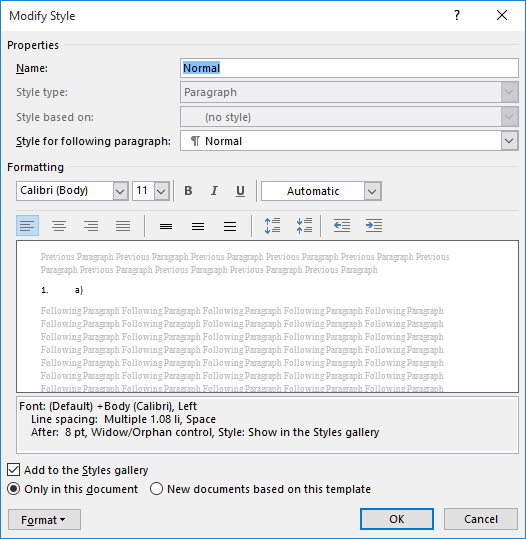
Figure 2. The Modify Style dialog box.
Which styles should you change? The simple answer is any that may be used in your document. In many documents you may be able to get away with only changing the Normal style in step 3. This works because most (if not all) of the other defined styles are based on the Normal style, thus all changes you make to it cascade to other styles based on it. If this is not the case in your document, then you simply need to make sure that, in step 3, you choose to change the Footnote Text style (to change the language for the text of your footnotes) and any styles that may be used in the text boxes.
WordTips is your source for cost-effective Microsoft Word training. (Microsoft Word is the most popular word processing software in the world.) This tip (10048) applies to Microsoft Word 2007, 2010, 2013, 2016, 2019, 2021, and Word in Microsoft 365.

Discover the Power of Microsoft Office This beginner-friendly guide reveals the expert tips and strategies you need to skyrocket your productivity and use Office 365 like a pro. Mastering software like Word, Excel, and PowerPoint is essential to be more efficient and advance your career. Simple lessons guide you through every step, providing the knowledge you need to get started. Check out Microsoft Office 365 For Beginners today!
Styles are a powerful component of Word. You use them to determine the way that your text should appear. This tip ...
Discover MoreOne of the features of Word that can cause some problems is one that allows styles to be automatically updated based upon ...
Discover MoreStyles are a fantastic tool for formatting documents. As you work with documents created by others, you may want to get ...
Discover MoreFREE SERVICE: Get tips like this every week in WordTips, a free productivity newsletter. Enter your address and click "Subscribe."
There are currently no comments for this tip. (Be the first to leave your comment—just use the simple form above!)
Got a version of Word that uses the ribbon interface (Word 2007 or later)? This site is for you! If you use an earlier version of Word, visit our WordTips site focusing on the menu interface.
Visit the WordTips channel on YouTube

FREE SERVICE: Get tips like this every week in WordTips, a free productivity newsletter. Enter your address and click "Subscribe."
Copyright © 2025 Sharon Parq Associates, Inc.
Comments