Written by Allen Wyatt (last updated August 26, 2023)
This tip applies to Word 2007, 2010, 2013, 2016, 2019, 2021, and Word in Microsoft 365
David has his document formatted with a 1" margin on each side. However, when he is working in Print Layout view, he doesn't see the one-inch margin at the top of the page. Instead, his text starts right at the top of the page on the screen. When David prints the margins look OK, but it frustrates him that they don't look right on the screen.
The most likely cause of this is that you have whitespace suppressed on your display. Follow these steps to make the adjustment:
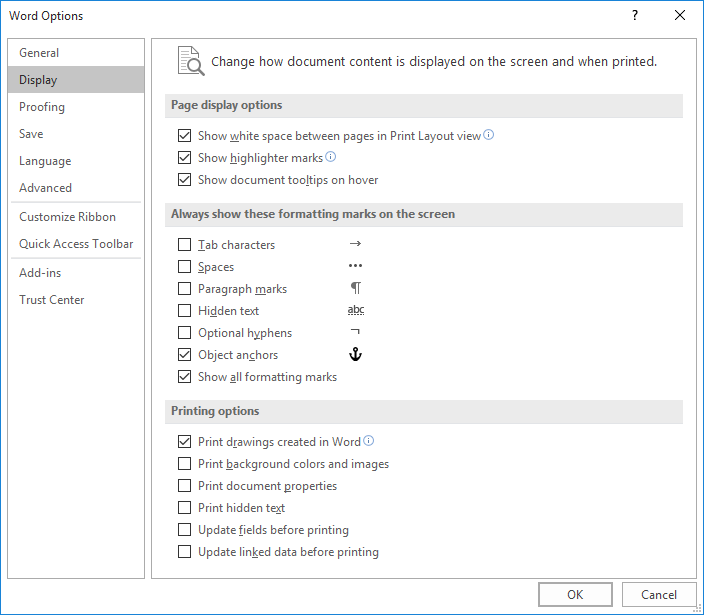
Figure 1. The display options of the Word Options dialog box.
There is a shortcut you can use to turn the display of whitespace on or off. In fact, the shortcut is easy enough that it is entirely possible to turn it off without even realizing that you've done so. (This is probably what happened in David's case.) All you need to do is scroll through your document until you see the small gray line between pages. If you position the mouse pointer over this gray line, it changes to a double-headed arrow. (See Figure 2.)

Figure 2. The double-headed arrow shortcut.
Double-click at that time, and your margins reappear. Double-click the gray area again and the margins disappear.
WordTips is your source for cost-effective Microsoft Word training. (Microsoft Word is the most popular word processing software in the world.) This tip (11850) applies to Microsoft Word 2007, 2010, 2013, 2016, 2019, 2021, and Word in Microsoft 365.

Discover the Power of Microsoft Office This beginner-friendly guide reveals the expert tips and strategies you need to skyrocket your productivity and use Office 365 like a pro. Mastering software like Word, Excel, and PowerPoint is essential to be more efficient and advance your career. Simple lessons guide you through every step, providing the knowledge you need to get started. Check out Microsoft Office 365 For Beginners today!
In an effort to make your writing better, Word uses "squiggly" underlines to mark things it thinks you may need to ...
Discover MoreWant to add lots of tools to your Quick Access Toolbar? Word allows you to do so, seemingly without limit. This tip ...
Discover MoreIf you want to reset everything in your Word installation, it can be done by simply making a few deletions. This tip ...
Discover MoreFREE SERVICE: Get tips like this every week in WordTips, a free productivity newsletter. Enter your address and click "Subscribe."
There are currently no comments for this tip. (Be the first to leave your comment—just use the simple form above!)
Got a version of Word that uses the ribbon interface (Word 2007 or later)? This site is for you! If you use an earlier version of Word, visit our WordTips site focusing on the menu interface.
Visit the WordTips channel on YouTube

FREE SERVICE: Get tips like this every week in WordTips, a free productivity newsletter. Enter your address and click "Subscribe."
Copyright © 2026 Sharon Parq Associates, Inc.
Comments