Please Note: This article is written for users of the following Microsoft Word versions: 2007, 2010, 2013, 2016, 2019, and 2021. If you are using an earlier version (Word 2003 or earlier), this tip may not work for you. For a version of this tip written specifically for earlier versions of Word, click here: Using Text Boundaries.
If you work often in Print Layout view, you may find text boundaries helpful. These are dotted lines that appear in your document to mark the limits of text elements. For instance, when you use text boundaries, dotted lines appear around the margins of your text, as well as around headers, footers, footnotes, etc.
To control the display of text boundaries, follow these steps:
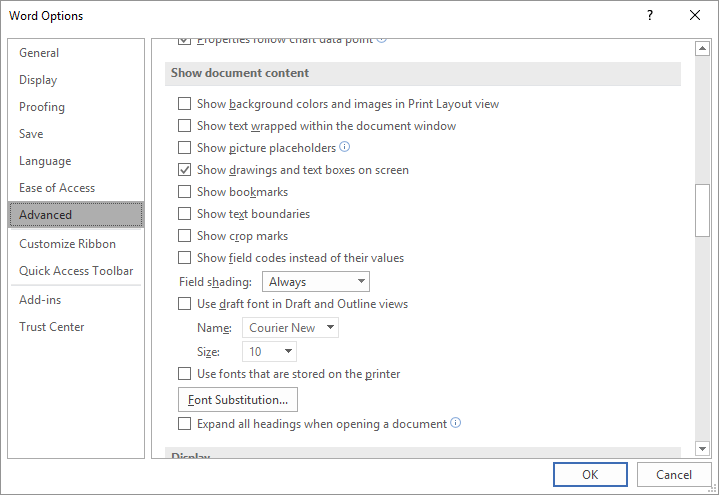
Figure 1. The Advanced options of the Word Options dialog box.
The way that text boundaries are implemented in Word has changed over time. In Word 2007 and 2010, when you turn text boundaries on you will generally see the boundary of the body of the page—in other words, you can see where your page margins are.
Beginning with Word 2013, text boundaries were modified to include paragraphs as an element of the page. This means that text boundaries show around each paragraph on the page. This has been frustrating to many users, but there is no way to "go back" to the old way of indicating text boundaries, as far as we've been able to figure out.
WordTips is your source for cost-effective Microsoft Word training. (Microsoft Word is the most popular word processing software in the world.) This tip (8840) applies to Microsoft Word 2007, 2010, 2013, 2016, 2019, and 2021. You can find a version of this tip for the older menu interface of Word here: Using Text Boundaries.

The First and Last Word on Word! Bestselling For Dummies author Dan Gookin puts his usual fun and friendly candor back to work to show you how to navigate Word 2019. Spend more time working and less time trying to figure it all out! Check out Word 2019 For Dummies today!
When you start typing in a new document and you get to the end of the first page, Word could place the next page at the ...
Discover MoreWord has a lot of tools that are invoked automatically based on what you are doing in the program. If these tools ...
Discover MoreWord allows you to either display or hide non-printing characters that are in your document. This configuration setting ...
Discover MoreFREE SERVICE: Get tips like this every week in WordTips, a free productivity newsletter. Enter your address and click "Subscribe."
2022-04-29 16:48:24
Mark
I clicked "Show text boundaries" but I also got lines under each paragraph of the text. How do I get rid of these lines?
2021-03-29 03:45:42
DP
I figured out the fix after spending time searching the web with attempts at trial and error.
Simply click on "Word" icon in upper left corner, then "Preferences", then "View" icon, then unclick the box "Text boundaries" under "Show In Document" area.
No one explained this and I kept searching for the answer. I run Office 365 Microsoft word on a Macbook. Hope this helps save you time in the future since I have learned on my own.
2020-08-29 22:50:41
Roger Scroce
Hi Allen,
It seems to me a quick and easy alternative is to do the following:
1. get page margins.
2. insert a shape on the page (rectangle, outline only, behind text, non printing) which matches the page margins.
Optionally, a macro could easily be created to automate this ...
Regards, Roger.
Got a version of Word that uses the ribbon interface (Word 2007 or later)? This site is for you! If you use an earlier version of Word, visit our WordTips site focusing on the menu interface.
Visit the WordTips channel on YouTube

FREE SERVICE: Get tips like this every week in WordTips, a free productivity newsletter. Enter your address and click "Subscribe."
Copyright © 2026 Sharon Parq Associates, Inc.
 Please Note:
This article is written for users of the following Microsoft Word versions: 2007, 2010, 2013, 2016, 2019, and 2021. If you are using an earlier version (Word 2003 or earlier), this tip may not work for you. For a version of this tip written specifically for earlier versions of Word, click here:
Please Note:
This article is written for users of the following Microsoft Word versions: 2007, 2010, 2013, 2016, 2019, and 2021. If you are using an earlier version (Word 2003 or earlier), this tip may not work for you. For a version of this tip written specifically for earlier versions of Word, click here:
Comments