Written by Allen Wyatt (last updated March 14, 2020)
This tip applies to Word 2007, 2010, 2013, 2016, 2019, and 2021
In the header of his document Tony includes a date field. He wonders if there is a way to have the date field update only if a change has been made to the details of the document. He is using the field to reflect the version of the document.
Before discussing how you can approach this need, there is a philosophical question that one needs to consider: When is a change actually made? When the edit is completed or when the document you edited is actually saved? The philosophical answer, of course, is that the change isn't really "made" until such time as you save your document. You can make changes to your document for hours on end, but if you never save the document, those changes are ephemeral; they go away when you lose power to your computer.
Recognizing this, Microsoft has never had a field that indicates the date when changes were last made. Instead, they included a SaveDate field which indicates the date the document was last saved. Here's how you can add this field to your document:
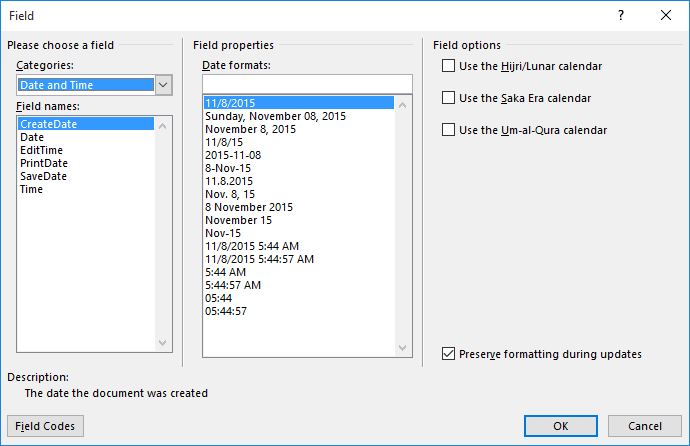
Figure 1. The Field dialog box.
You should note that if you save your document as you are editing, you won't see the SaveDate field update right away. It exhibits the same behavior as any other field in your document and is only updated when the field, itself, is updated. (This behavior has been covered in other WordTips.)
There is also another way you could insert the last date your document was saved, using a document property called DocModified. Despite its name, it displays the same information as the SaveDate field. You can insert this custom property in your document in much the same way as you inserted the SaveDate field:
Whenever you work with fields as described in this tip, there are a couple of things you need to keep in mind. The first I already mentioned—the fact that fields are not updated automatically; they need to be specifically updated. The other thing is that if you do update fields (like if you print the document, which automatically updates the fields), Word thinks that just because the fields have been updated that the document itself has been updated. Thus, when you close the document you will be asked if you want to save your changes. If you do save the document then, of course, the next time you open the document the SaveDate field will reflect the new date on which you saved the document, not the date you made real changes to the document. (Sorry, contra Microsoft, I don't consider updates to fields to be "real changes.") The bottom line is that you should make sure you only save your document if you really make changes, not just if the fields were updated.
WordTips is your source for cost-effective Microsoft Word training. (Microsoft Word is the most popular word processing software in the world.) This tip (13746) applies to Microsoft Word 2007, 2010, 2013, 2016, 2019, and 2021.

The First and Last Word on Word! Bestselling For Dummies author Dan Gookin puts his usual fun and friendly candor back to work to show you how to navigate Word 2013. Spend more time working and less time trying to figure it all out! Check out Word 2013 For Dummies today!
Do you need to select a field? It is as simple as selecting a single character, as this tip explains.
Discover MoreYou can use the Advance field to change where text is positioned in your document. This tip shows how to use it and the ...
Discover MoreNeed to jump from one place in your document to another? One way to do this is through the user of the GotoButton field, ...
Discover MoreFREE SERVICE: Get tips like this every week in WordTips, a free productivity newsletter. Enter your address and click "Subscribe."
2020-04-07 14:11:44
Anita
I don't have the DocModified property either. I'm using Word 365, version 1902, build 11328.20554 (click-to-run) (semi-annual channel).
2020-03-16 18:40:48
Allen
That's interesting, Tomek. If I follow the second set of steps on my Office 365 system, I can see the DocModified property right after I complete step 5.
This is on a system that doesn't use SharePoint.
-Allen
2020-03-16 16:24:33
Tomek Dluzniewski
Hi Allen,
In my version of Word (365/2016) there is no property DocModified. I guess it must be your custom property or may be SharePoint property, if you use it.
Regards,
Tomek
Got a version of Word that uses the ribbon interface (Word 2007 or later)? This site is for you! If you use an earlier version of Word, visit our WordTips site focusing on the menu interface.
Visit the WordTips channel on YouTube

FREE SERVICE: Get tips like this every week in WordTips, a free productivity newsletter. Enter your address and click "Subscribe."
Copyright © 2025 Sharon Parq Associates, Inc.
Comments