Written by Allen Wyatt (last updated August 19, 2023)
This tip applies to Word 2007, 2010, 2013, 2016, 2019, Word in Microsoft 365, and 2021
Bruce often needs to determine the style currently applied to a paragraph or to a text selection. He knows that he can figure this out by opening the style pane and scrolling through the styles (to see which one is selected), but figures there has to be an easier way to get this information.
There are actually several ways you can get this information; the one you choose is up to how you do your work and which works best for you.
First of all, if you have the Home tab of the ribbon displayed, you may be able to see the current style in the Styles gallery, in the Styles group. I stress "may" as this approach doesn't always work—for some reason Word doesn't always display the portion of the gallery in which the style appears. The reason for this is unclear, and it is frustrating. However, this approach may work just fine if you don't have many styles defined in your document.
Another approach is to place the insertion point in the paragraph in question or select the text and then press Ctrl+Shift+S. Word displays the Apply Styles dialog box, and the current style is displayed within the Style Name drop-down list. If you change the location of the insertion point, the style name in the dialog box is continually updated to reflect what is selected.
Word also includes a "reveal formatting" command that displays detailed information about a text selection. Just press Shift+F1 and you'll see the Reveal formatting pane at the right side of the screen. You can see the style information in the pane if you make sure the Distinguish Style Source check box is selected at the bottom of the pane. You can dismiss the pane by pressing Shift+F1 again.
An approach that has been available since the earliest days of Word is to display the style area. This only has meaning if you are editing in either Draft or Outline views, but it can be very helpful nonetheless. To display this area, follow these steps:
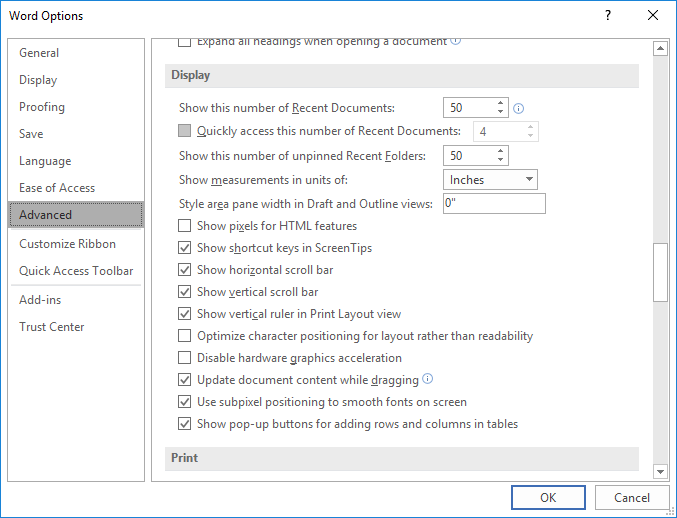
Figure 1. The advanced options of the Word Options dialog box.
Now, when you edit in Draft or Outline views, you'll see a small area at the left side of the screen that displays the name of the style applied to each paragraph in the document.
If you've been using Word for several versions, you know that in older, menu-based versions of the program Word displayed a Styles drop-down list on the Formatting menu. You can add this same control to the Quick Access Toolbar by following these steps:
Be careful when performing step 4—Word provides quite a few style-related commands. You want the one that says "Style", not "Styles". If you hover the mouse pointer over the command you'll see the text "Style (StyleGalleryClassic)". This is the one you want to add.
WordTips is your source for cost-effective Microsoft Word training. (Microsoft Word is the most popular word processing software in the world.) This tip (11736) applies to Microsoft Word 2007, 2010, 2013, 2016, 2019, Word in Microsoft 365, and 2021.

Comprehensive VBA Guide Visual Basic for Applications (VBA) is the language used for writing macros in all Office programs. This complete guide shows both professionals and novices how to master VBA in order to customize the entire Office suite for their needs. Check out Mastering VBA for Office 2010 today!
Want to get your text away from the explicit formatting you applied, back to the underlying formatting? Here are a few ...
Discover MoreIf you develop a set of preferred styles, you may want to use those styles with a document you receive from someone else. ...
Discover MoreWord always relies on styles to define how text appears in your document. If you don't understand how Word applies ...
Discover MoreFREE SERVICE: Get tips like this every week in WordTips, a free productivity newsletter. Enter your address and click "Subscribe."
2023-08-21 12:47:18
Kathy R
The one I find most useful is clicking the arrow at the bottom right of the style gallery in the ribbon (or alt+ctrl+shift+s ) that opens up a pane to the right of your document that shows the styles. There's room enough to show 30 or so styles there, along with options to create and manage styles. It shows up in all views including outline.
Got a version of Word that uses the ribbon interface (Word 2007 or later)? This site is for you! If you use an earlier version of Word, visit our WordTips site focusing on the menu interface.
Visit the WordTips channel on YouTube

FREE SERVICE: Get tips like this every week in WordTips, a free productivity newsletter. Enter your address and click "Subscribe."
Copyright © 2024 Sharon Parq Associates, Inc.
Comments