On Brett's company's network, the Normal template is periodically updated, automatically, based on whatever it is that his IT department does. The problem is, the Normal template contains Brett's macros that he's developed, which means they are overwritten. He wonders if there is a way to make sure that his macros remain intact even if the IT department decides to update the Normal template.
There are a few things to work out here, before suggesting how this situation might be approached. First, Brett needs to determine where his Normal template is stored. If it is stored on a network drive so that it is being accessed by multiple people on the network, then Brett should probably not be modifying it anyway—it is under the purview of the IT department and Brett shouldn't be storing his own macros in it.
If, however, the Normal template is on Brett's local machine, that is a different story. This means that the IT department is, in some manner, updating the Normal template not only on Brett's machine, but also on all the other machines on the network. From a user's perspective, this is just a little rude. (OK, quite a bit rude, and a bit draconian to boot.) The company should be developing their own set of custom templates and then storing those in a particular location that doesn't involve overwriting any user's Normal template. That approach involves setting the Workgroup Templates location, as described in this tip.
Regardless of what the company should do, they will, of course, continue to do what they want to do—including the overwriting of Brett's Normal template. Brett can take some steps to protect his macros, including periodically exporting the macro modules from the Normal template to a backup location. You can do that by following these general steps:
This is a particularly good approach if your macros don't change all that often—whenever the Normal template is updated, you can simply use the backups to import the macro modules back into it. (You import the macros by following the steps just outlined but choosing Import File from the Context menu displayed in step 4.)
Of course, over time this may turn into a game of whack-a-mole. You have to remember to keep your macro backups up to date, and you'll need to take steps to update your Normal template whenever the IT department does their work. A better solution is to simply create your own "global" template that contains your macros. You can store this template in your startup folder, and then it will be available whenever you start Word. Just move the macros to a brand-new, empty template. (A good way to do this is to export them from the Normal template using the steps already discussed. Delete the modules from the Normal template after exporting, and then use the Visual Basic Editor to import those modules into the new, empty template.)
Next, you'll want to store this new template in the Startup folder. The location of this folder can vary from system to system. To me, the easiest way to discover the Startup folder location is to follow these steps:
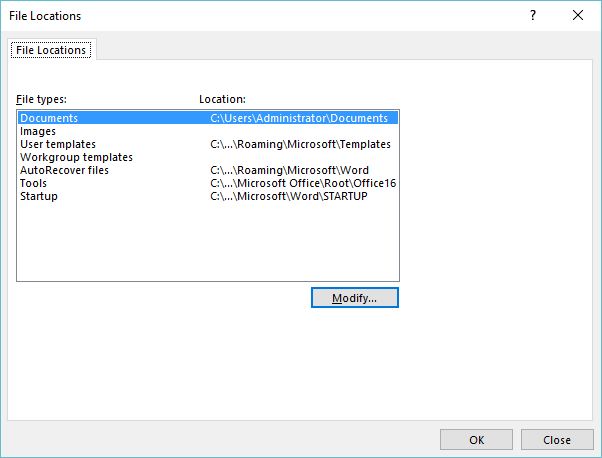
Figure 1. The File Locations dialog box.
The resulting dialog box indicates the location of the Startup folder being used by Word. Once you have the location of the Startup folder, close Word and use Windows to copy the template into this folder. The next time you start Word, the template is opened automatically and all the macros it contains are available, the same as if they were still in your Normal template. Plus, they won't be disturbed by anything your IT department may do to your Normal template.
Note:
WordTips is your source for cost-effective Microsoft Word training. (Microsoft Word is the most popular word processing software in the world.) This tip (13648) applies to Microsoft Word 2007, 2010, 2013, 2016, 2019, and 2021.

Discover the Power of Microsoft Office This beginner-friendly guide reveals the expert tips and strategies you need to skyrocket your productivity and use Office 365 like a pro. Mastering software like Word, Excel, and PowerPoint is essential to be more efficient and advance your career. Simple lessons guide you through every step, providing the knowledge you need to get started. Check out Microsoft Office 365 For Beginners today!
Need to know if a number in a macro is odd or even? It's easy to figure out with the simple calculation shown in this tip.
Discover MoreIf you need to determine a random value in a macro, you can do so using the Rnd function. This tip presents the syntax ...
Discover MoreWant your macro to change the Hidden attribute for some text in your document? It's easier to change than you might think.
Discover MoreFREE SERVICE: Get tips like this every week in WordTips, a free productivity newsletter. Enter your address and click "Subscribe."
There are currently no comments for this tip. (Be the first to leave your comment—just use the simple form above!)
Got a version of Word that uses the ribbon interface (Word 2007 or later)? This site is for you! If you use an earlier version of Word, visit our WordTips site focusing on the menu interface.
Visit the WordTips channel on YouTube

FREE SERVICE: Get tips like this every week in WordTips, a free productivity newsletter. Enter your address and click "Subscribe."
Copyright © 2026 Sharon Parq Associates, Inc.
Comments