Please Note: This article is written for users of the following Microsoft Word versions: 2007, 2010, 2013, 2016, 2019, and 2021. If you are using an earlier version (Word 2003 or earlier), this tip may not work for you. For a version of this tip written specifically for earlier versions of Word, click here: Replacing Graphics with Graphics.
If you have graphics in your document that you want to replace with an updated version of the graphic, you may be wondering if there is a way you can "automate" the process and make the replacement faster. The answer (as with many things in Word) depends on the nature of your document and what you are replacing.
If the graphic you are replacing is inline with the text, and you want to replace all occurrences of graphics with your new graphic, you can follow these general steps:
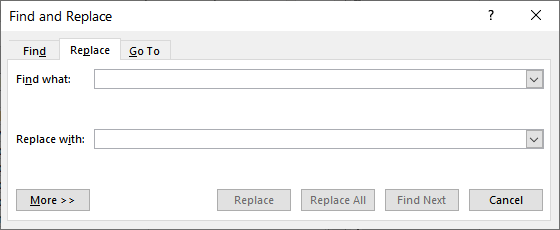
Figure 1. The Replace tab of the Find and Replace dialog box.
Note that this replaces all the graphics in your document. If you prefer, you can become selective about which graphics are replaced by not clicking on Replace All in step 6, but instead clicking on Find Next. Each graphic is shown, in turn, and you have the option of replacing each of them with the contents of the Clipboard (which is the new graphic).
When being selective about which graphics to replace and which not to replace, you need to make the decision on a graphic-by-graphic basis. This is because there is no way for Word to determine the content of a graphic to figure out if it should be replaced. (Word can figure out the content of text, but not of graphics.)
If you are working with graphics that are not inline (they are on the drawing layer), there is no way to search for them and replace them with other graphics. Unfortunately, Word's Find feature won't catch any graphics on the drawing layer.
WordTips is your source for cost-effective Microsoft Word training. (Microsoft Word is the most popular word processing software in the world.) This tip (10729) applies to Microsoft Word 2007, 2010, 2013, 2016, 2019, and 2021. You can find a version of this tip for the older menu interface of Word here: Replacing Graphics with Graphics.

The First and Last Word on Word! Bestselling For Dummies author Dan Gookin puts his usual fun and friendly candor back to work to show you how to navigate Word 2019. Spend more time working and less time trying to figure it all out! Check out Word 2019 For Dummies today!
When you position objects (such as text boxes or graphics) on a page, one of the things you can do is to anchor the ...
Discover MoreWord allows you to easily add captions to your images. You may not always get what you expect, however, when you have ...
Discover MoreUsing the Snipping tool to place an image into a Word document can produce often confusing results. This tip looks at the ...
Discover MoreFREE SERVICE: Get tips like this every week in WordTips, a free productivity newsletter. Enter your address and click "Subscribe."
There are currently no comments for this tip. (Be the first to leave your comment—just use the simple form above!)
Got a version of Word that uses the ribbon interface (Word 2007 or later)? This site is for you! If you use an earlier version of Word, visit our WordTips site focusing on the menu interface.
Visit the WordTips channel on YouTube

FREE SERVICE: Get tips like this every week in WordTips, a free productivity newsletter. Enter your address and click "Subscribe."
Copyright © 2026 Sharon Parq Associates, Inc.
 Please Note:
This article is written for users of the following Microsoft Word versions: 2007, 2010, 2013, 2016, 2019, and 2021. If you are using an earlier version (Word 2003 or earlier), this tip may not work for you. For a version of this tip written specifically for earlier versions of Word, click here:
Please Note:
This article is written for users of the following Microsoft Word versions: 2007, 2010, 2013, 2016, 2019, and 2021. If you are using an earlier version (Word 2003 or earlier), this tip may not work for you. For a version of this tip written specifically for earlier versions of Word, click here:
Comments