Please Note: This article is written for users of the following Microsoft Word versions: 2007, 2010, 2013, 2016, 2019, and 2021. If you are using an earlier version (Word 2003 or earlier), this tip may not work for you. For a version of this tip written specifically for earlier versions of Word, click here: Using Continued Lines.
One WordTips reader wrote about a special page numbering need for their organization. Besides placing a regular page number at the top of a page, on the previous page they place a footer that tells the upcoming page number. For instance, at the bottom of page 1 you might place "Continued on page 2." The question was how to place such a footer on each page except the last one, and how the proper page number can be placed there.
There is no built-in, automatic way to do this in Word. All the information you need is, however, available through use of Word's fields. A compound field (implemented by putting a field within a field) will do the trick. The following compound field allows you to place the proper information at the bottom of each page. A different footer appears on the last page.
{ IF { PAGE } < { NUMPAGES } "Continued on page {={PAGE} + 1}" "Last Page"}
Note the use of the incremented page number in the field so that the next page is always referenced. If you want to change the exact text that appears with the incremented page number, then simply change the info appearing between the quote marks, but outside the compound page number field. (In this case, it is the text 'Continued on page '.) In addition, if you don't want any footer to appear on the last page of the document, then delete the "Last Page" portion of the field (including the quote marks).
You can insert field braces by pressing Ctrl+F9 and you can nest different fields, as this tip requires, by using the same shortcut key. To create the desired footer, open your document and follow these steps.
When you create the fields, make sure you use the proper spelling of the field names, and that the quote marks are included as indicated.
When you use a field such as this, it is a good idea to either manually update the fields before printing, or make sure Word is set to do this automatically. You can check this by following these steps:
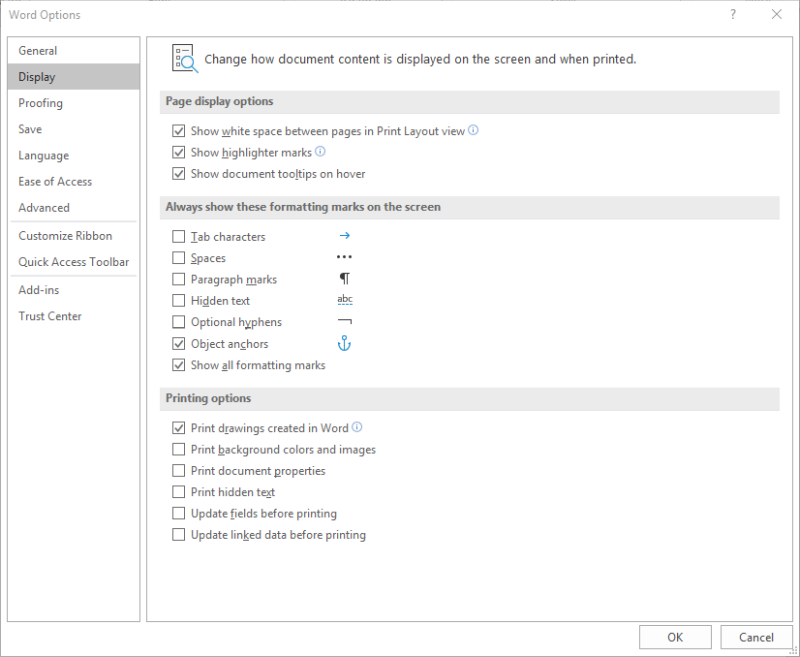
Figure 1. Display Options pane of the Word Options dialog box.
Now, whenever you print, Word first updates every field in the document before the first page is produced. This ensures that your footers appear as you desire.
WordTips is your source for cost-effective Microsoft Word training. (Microsoft Word is the most popular word processing software in the world.) This tip (8656) applies to Microsoft Word 2007, 2010, 2013, 2016, 2019, and 2021. You can find a version of this tip for the older menu interface of Word here: Using Continued Lines.

Create Custom Apps with VBA! Discover how to extend the capabilities of Office 365 applications with VBA programming. Written in clear terms and understandable language, the book includes systematic tutorials and contains both intermediate and advanced content for experienced VB developers. Designed to be comprehensive, the book addresses not just one Office application, but the entire Office suite. Check out Mastering VBA for Microsoft Office 365 today!
Third-party programs can be used to affect a document and change what is contained therein. Of course, getting rid of ...
Discover MoreField codes allow dynamic information to be included in documents and can be a great boon. At some point you may want to ...
Discover MoreFields are meant to be dynamic, providing a result based on conditions at the time they are updated. You may want to ...
Discover MoreFREE SERVICE: Get tips like this every week in WordTips, a free productivity newsletter. Enter your address and click "Subscribe."
There are currently no comments for this tip. (Be the first to leave your comment—just use the simple form above!)
Got a version of Word that uses the ribbon interface (Word 2007 or later)? This site is for you! If you use an earlier version of Word, visit our WordTips site focusing on the menu interface.
Visit the WordTips channel on YouTube

FREE SERVICE: Get tips like this every week in WordTips, a free productivity newsletter. Enter your address and click "Subscribe."
Copyright © 2026 Sharon Parq Associates, Inc.
 Please Note:
This article is written for users of the following Microsoft Word versions: 2007, 2010, 2013, 2016, 2019, and 2021. If you are using an earlier version (Word 2003 or earlier), this tip may not work for you. For a version of this tip written specifically for earlier versions of Word, click here:
Please Note:
This article is written for users of the following Microsoft Word versions: 2007, 2010, 2013, 2016, 2019, and 2021. If you are using an earlier version (Word 2003 or earlier), this tip may not work for you. For a version of this tip written specifically for earlier versions of Word, click here:
Comments