Please Note: This article is written for users of the following Microsoft Word versions: 2007, 2010, 2013, 2016, 2019, and 2021. If you are using an earlier version (Word 2003 or earlier), this tip may not work for you. For a version of this tip written specifically for earlier versions of Word, click here: Hiding Graphics.
If you are preparing documents that contain graphics, you may want to print the graphics on one version of the document, but not print them on another. For example, you might be preparing a test for students, and the test requires them to draw a graph. You would want the printout of the student version of the test to leave space for drawing a graph, but the printout of the answer sheet should include the graphic showing how the students should answer.
There are many ways you can go about approaching this task. One method is to create two versions of the same document—one with the answers and one without. This approach takes quite a bit of "synchronizing" to make sure it works, however. If you forget to make a change in both documents, they can quickly get out of sync.
To overcome this problem, you will want to create a single file that contains the answers. Assuming the answers are graphic files, the easiest way is to print the student version using draft mode. Follow these steps:
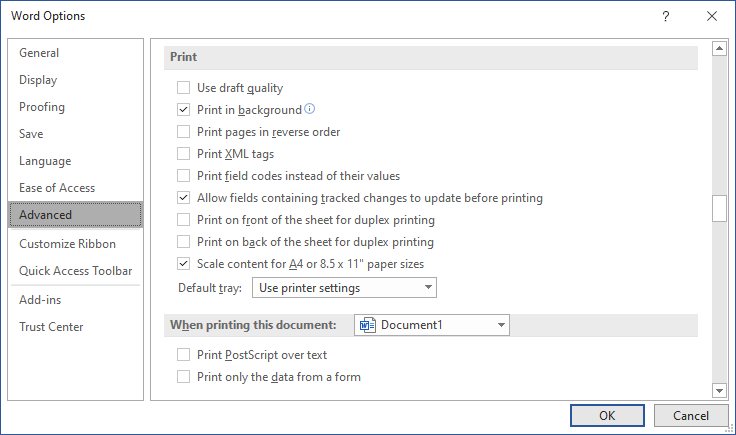
Figure 1. The Advanced tab of the Word Options dialog box.
Word prints the document very quickly, leaving blank space where graphics would normally appear. Obviously, this is an either/or situation: either you print the graphics, or you don't. If you have some graphics you want to appear in the document and others you don't, this solution will not work.
In this instance (some graphics need to print, others don't) you will need to resort to individual formatting of the graphics you don't want to print on the student version. One approach is to select the graphic and adjust its brightness to its highest level. This "washes out" the graphic to the point that it appears completely white when printed.
Another approach is to use hidden text. The Hidden attribute can be applied to both graphics and text, which means you can use hidden text for all your answers. If you print with hidden text turned on, then you are creating an answer sheet; with it turned off, you are printing a student test. To work with the hidden text method, follow these steps:
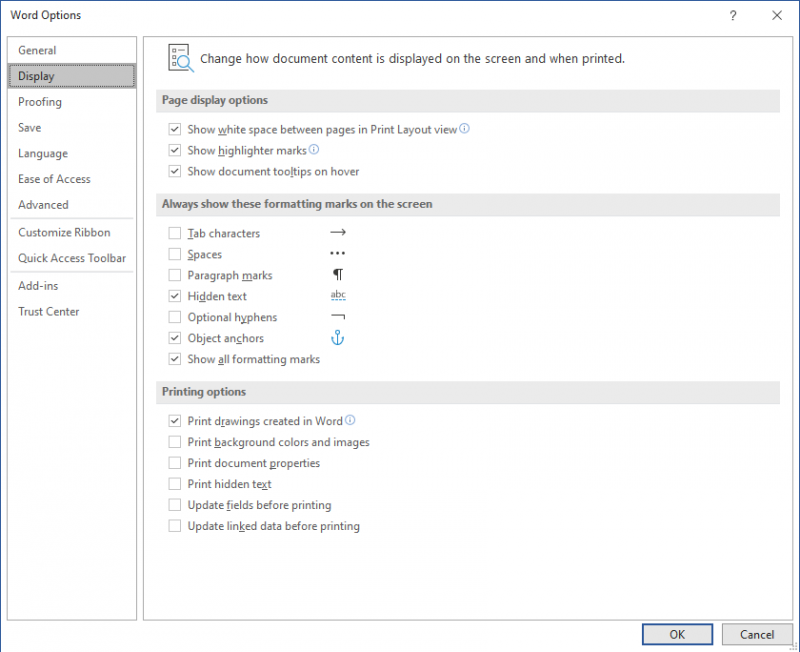
Figure 2. The Display tab of the Word Options dialog box.
There is one thing you may need to do when using this approach. If the student test is "collapsed" (meaning there is no room left for them to draw their answers), you may need to play with the line spacing for each question. You can do this by using the options in the Paragraph group on the Home tab of the ribbon. This may, of course, take a bit of trial and error to get the desired effect.
Yet another option you can use is to take advantage of an intrinsic difference in how Word handles inline graphics as opposed to floating graphics. Say you had two graphics files—one for the student test and the other for the answer sheet. Put your test document together by following these guidelines:
When you are ready to print your tests, use the following steps:
The setting of the Print Drawings Created in Word check box controls, essentially, whether floating graphics are printed or not. These types of graphics are inserted not in the midst of your text, but "over" your text, on what Microsoft calls the drawing layer. Thus, when the check box is cleared, the drawing layer is ignored in the printout.
WordTips is your source for cost-effective Microsoft Word training. (Microsoft Word is the most popular word processing software in the world.) This tip (6020) applies to Microsoft Word 2007, 2010, 2013, 2016, 2019, and 2021. You can find a version of this tip for the older menu interface of Word here: Hiding Graphics.

Learning Made Easy! Quickly teach yourself how to format, publish, and share your content using Word 2021 or Microsoft 365. With Step by Step, you set the pace, building and practicing the skills you need, just when you need them! Check out Microsoft Word Step by Step today!
If your document has a lot of markup visible in it, you may want to print a copy of the document that doesn't reflect ...
Discover MoreDo you use custom document properties? They can be very helpful, but sometimes hard to get at. This tip shows a way you ...
Discover MoreHave a bunch of documents you need to print? If all the documents are open, you can use a handy little macro to print ...
Discover MoreFREE SERVICE: Get tips like this every week in WordTips, a free productivity newsletter. Enter your address and click "Subscribe."
2023-02-25 00:22:20
Tomek
@Stefan - here is the expanded version of my earlier comment:
Hidding images can be a little tricky.
Ctrl+Shift+H normally only hides text and inline images. Floating Images if selected by themselves are not affected by this shortcut. To be hidden using this shortcut, you have to select part of the document body where the particular image is anchored. This is not the blue anchor icon that may be visible when you select a floating shape; rather, it is an invisible character that resides within a text, most frequently between the end of previous paragraph and the first character of the paragraph to which the shape is anchored (but other places are possible). If you keep expanding your text selection and you cross the anchor point of a particular shape, you will notice that the shape becomes selected too. If you hide the selected text, the shape anchored within it will be hidden too. You can check this in print preview.
The problem with this approach is twofold: One- the hidden text is also not printed so you have to make arrangements for that. Two -the space taken by whatever is hidden, is filled by whatever follows it, resulting in visual changes to the page and possibly re-pagination of the rest of the document.
Another way you can make the floating images disappear is by setting their transparency to 100%. Once you select picture, there will be a new tab: "Picture Format" available. In the Adjust group click on
Transparency -> Picture Transparency Options and adjust transparency there. This is probably what Allen meant when he was talking about adjusting brightness, or that was what it was called in older versions of Word.
Beware: if the floating picture has no frame or something else visible you may have hard time finding it later. But that's another story.
You can change the transparency of inline images as well, and the space they occupy will not be swallowed by the text that follows.
IHTH.
2023-02-24 23:37:37
Tomek
@Stefan:
Ctrl+Shift+H only hides text and inline images. Floating Images are not affected by this shortcut. You can make the floating images disappear by setting their transparency to 100%. Once you select picture, there will be a new tab: "Picture Format" available. In the Adjust group click on
Transparency -> Picture Transparency Options and adjust transparency there.
Beware: if the floating picture has no frame or something else visible you may have hard time finding it later. But that's another story.
2023-02-23 15:51:51
Stefan
Thanks for the tips, but hiding graphics is not working with "CTRL + SHIFT + H". Is there any other way to give them the attribute "hidden"?
Got a version of Word that uses the ribbon interface (Word 2007 or later)? This site is for you! If you use an earlier version of Word, visit our WordTips site focusing on the menu interface.
Visit the WordTips channel on YouTube

FREE SERVICE: Get tips like this every week in WordTips, a free productivity newsletter. Enter your address and click "Subscribe."
Copyright © 2026 Sharon Parq Associates, Inc.
 Please Note:
This article is written for users of the following Microsoft Word versions: 2007, 2010, 2013, 2016, 2019, and 2021. If you are using an earlier version (Word 2003 or earlier), this tip may not work for you. For a version of this tip written specifically for earlier versions of Word, click here:
Please Note:
This article is written for users of the following Microsoft Word versions: 2007, 2010, 2013, 2016, 2019, and 2021. If you are using an earlier version (Word 2003 or earlier), this tip may not work for you. For a version of this tip written specifically for earlier versions of Word, click here:
Comments