Ihor creates a lot of structured documents using Word styles and finds the Navigation pane a really great tool. He notes, though, that there doesn't seem to be any way to display this pane automatically when a document is first opened. Ihor wonders how he can make sure it is always displayed.
Before getting into the answer, a snapshot of history is in order. In Word 2007 there is no Navigation pane. It has what was referred to as the Document Map. This feature was expanded in Word 2010 to become what is now known as the Navigation pane. In Word 2007 you can display the Document Map by clicking the View tab of the ribbon and putting a checkmark in the Document Map check box, in the Show group. If you look at the Show group in Word 2010 or a later version, you won't find the Document Map check box there; instead you find the Navigation Pane check box. (See Figure 1.)
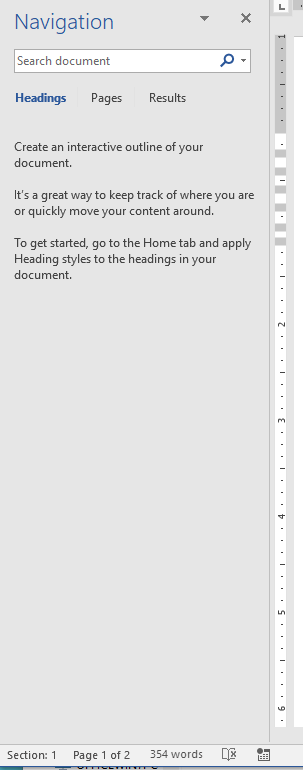
Figure 1. The Navigation Pane
In Word 2010 or a later version, pressing Ctrl+F brings up the Navigation pane and "checks" the Navigation Pane check box. In Word 2007 this shortcut key brings up the Find tab of the Find and Replace dialog box. The reason is because Word folded simple searching tasks into the Navigation pane, so that is what is displayed.
When you turn on the Navigation pane (or, in Word 2007, the Document Map) it is "sticky." This means that when you exit Word and come back into the program, the Navigation pane (or Document Map) are displayed by default. Thus, if you want the pane/map to be visible, simply make sure that it is visible when you exit Word.
You can, if you want, use a macro to enforce the display of the Navigation pane (or Document Map). There are actually two ways you can do this, both methods requiring a single VBA statement. The following statement will work in all versions of Word beginning with Word 2007:
ActiveWindow.DocumentMap = True
The following statement won't work in Word 2007, but it will work in Word 2010 or a later version:
CommandBars("Navigation").Visible = True
Either approach (depending on your version of Word) is fine and results in the Navigation pane (or Document Map) being displayed. You could place the statement within an AutoOpen macro for the Normal template, which would mean that any time you open an existing document, the macro is run and the Navigation pane displayed. For good measure, you could also place your preferred VBA statement inside an AutoNew macro, which would mean it would be executed every time a new document is created.
Note:
WordTips is your source for cost-effective Microsoft Word training. (Microsoft Word is the most popular word processing software in the world.) This tip (3579) applies to Microsoft Word 2007, 2010, 2013, 2016, 2019, 2021, and Word in Microsoft 365.

Do More in Less Time! An easy-to-understand guide to the more advanced features available in the Microsoft 365 version of Word. Enhance the quality of your documents and boost productivity in any field with this in-depth resource. Complete your Word-related tasks more efficiently as you unlock lesser-known tools and learn to quickly access the features you need. Check out Microsoft 365 Word For Professionals For Dummies today!
Many people use the keyboard to do their primary editing tasks. Word doesn't limit you to the keyboard, however. You can ...
Discover MoreWord has a lot of tools that are invoked automatically based on what you are doing in the program. If these tools ...
Discover MoreSometimes you just want to get to the Save As dialog box as quickly as possible. Word seems to make this increasingly ...
Discover MoreFREE SERVICE: Get tips like this every week in WordTips, a free productivity newsletter. Enter your address and click "Subscribe."
There are currently no comments for this tip. (Be the first to leave your comment—just use the simple form above!)
Got a version of Word that uses the ribbon interface (Word 2007 or later)? This site is for you! If you use an earlier version of Word, visit our WordTips site focusing on the menu interface.
Visit the WordTips channel on YouTube

FREE SERVICE: Get tips like this every week in WordTips, a free productivity newsletter. Enter your address and click "Subscribe."
Copyright © 2026 Sharon Parq Associates, Inc.
Comments