Written by Allen Wyatt (last updated March 25, 2023)
This tip applies to Word 2007, 2010, 2013, 2016, 2019, 2021, and Word in Microsoft 365
Cindy sometimes doesn't get the prompt to save changes to Normal.dotm when she closes Word, even though she has saved new AutoText entries and the setting is selected to always prompt me to do so. She wonders if this is a known issue in Word.
There could be several causes for this. First, you should realize that starting with Word 2007, Microsoft made a change to the default place where AutoText entries are stored. It used to be (pre-Word 2007) that they were stored in your Normal template. However, they are now stored—by default—in the Building Blocks.dotx file. Thus, if you add an AutoText entry you won't be prompted to save the Normal.dotm file when you close Word because, quite simply, the Normal.dotm file wasn't modified.
Of course, another possibility is that the document (or documents) you are working on when you close Word doesn't really rely on the Normal.dotm template. Instead, the documents could have a different template attached to them, and changes to the document templates wouldn't affect Normal.dotm at all.
If you are absolutely certain that the changes you make are being stored in Normal.dotm and you still aren't being prompted as you expect, it could be that Word is confused about what you want done when it comes to prompting. Try these steps:
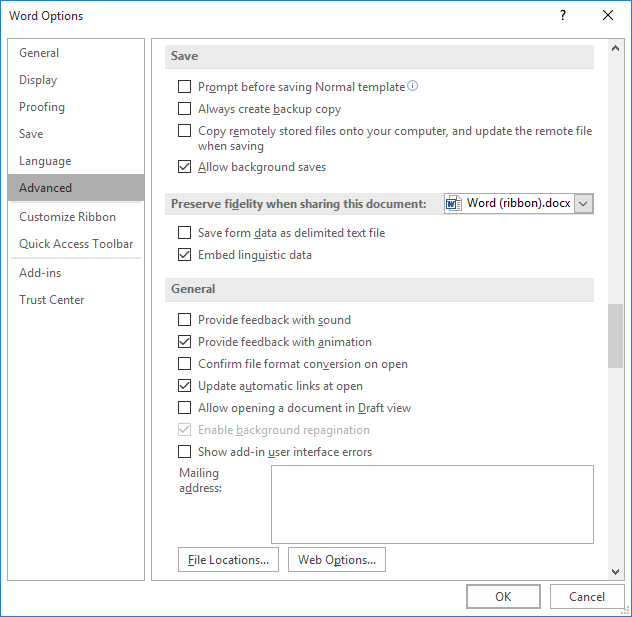
Figure 1. The advanced options in the Word Options dialog box.
There are more steps here than you might think necessary, but the idea is to clear the check box, commit the changes, select the check box, and commit the changes again. This should get rid of any confusion on the part of Word as to how you want changes to the Normal template handled.
WordTips is your source for cost-effective Microsoft Word training. (Microsoft Word is the most popular word processing software in the world.) This tip (5979) applies to Microsoft Word 2007, 2010, 2013, 2016, 2019, 2021, and Word in Microsoft 365.

Discover the Power of Microsoft Office This beginner-friendly guide reveals the expert tips and strategies you need to skyrocket your productivity and use Office 365 like a pro. Mastering software like Word, Excel, and PowerPoint is essential to be more efficient and advance your career. Simple lessons guide you through every step, providing the knowledge you need to get started. Check out Microsoft Office 365 For Beginners today!
Templates, when attached to a document, can greatly affect how that document looks. You can change from one template to ...
Discover MoreTemplates allow you to define and collect many formatting settings that control how your documents appear. Getting a ...
Discover MoreIn many companies it is common to have standard templates accessible through the internal network. If you have templates ...
Discover MoreFREE SERVICE: Get tips like this every week in WordTips, a free productivity newsletter. Enter your address and click "Subscribe."
There are currently no comments for this tip. (Be the first to leave your comment—just use the simple form above!)
Got a version of Word that uses the ribbon interface (Word 2007 or later)? This site is for you! If you use an earlier version of Word, visit our WordTips site focusing on the menu interface.
Visit the WordTips channel on YouTube

FREE SERVICE: Get tips like this every week in WordTips, a free productivity newsletter. Enter your address and click "Subscribe."
Copyright © 2026 Sharon Parq Associates, Inc.
Comments