Please Note: This article is written for users of the following Microsoft Word versions: 2007, 2010, 2013, 2016, 2019, and 2021. If you are using an earlier version (Word 2003 or earlier), this tip may not work for you. For a version of this tip written specifically for earlier versions of Word, click here: Vertical Lines in Word.
For some documents you may have a need to insert vertical lines. There are actually four or five ways you can do this in Word. The actual method you choose depends on your document needs and which appeals to you the most.
The first method involves drawing a line:
The second method involves using bar tab stops. You can see how these appear by following these steps:
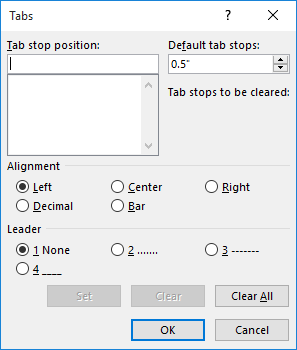
Figure 1. The Tabs dialog box.
The bar tab stops are simple, one-point black vertical lines. (There is no way to change line weight or color.)
Another method that works well if you want the line to appear beside a paragraph is to use borders:
If you have multiple columns in your document and you want vertical lines between the columns, you can follow these steps:
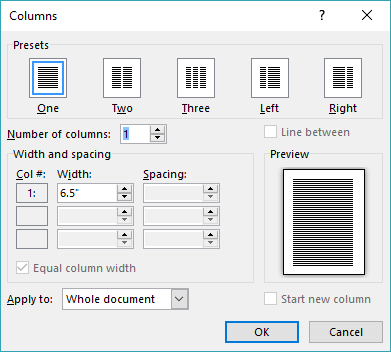
Figure 2. The Columns dialog box.
The final way to create vertical lines is to use tables. While this may seem a bit convoluted, it will work great for small sections of text. To use this method, follow these general steps:
WordTips is your source for cost-effective Microsoft Word training. (Microsoft Word is the most popular word processing software in the world.) This tip (9503) applies to Microsoft Word 2007, 2010, 2013, 2016, 2019, and 2021. You can find a version of this tip for the older menu interface of Word here: Vertical Lines in Word.

Discover the Power of Microsoft Office This beginner-friendly guide reveals the expert tips and strategies you need to skyrocket your productivity and use Office 365 like a pro. Mastering software like Word, Excel, and PowerPoint is essential to be more efficient and advance your career. Simple lessons guide you through every step, providing the knowledge you need to get started. Check out Microsoft Office 365 For Beginners today!
Two of the long-time features in Word are text boxes and WordArt. You might not think these two are related, but they are ...
Discover MoreAn object anchor is used to signify the point at which an object is inserted into a document. If you want to see these ...
Discover MoreIf you want to "sign" your documents, you might be tempted to insert a graphic scan of your signature into them. Before ...
Discover MoreFREE SERVICE: Get tips like this every week in WordTips, a free productivity newsletter. Enter your address and click "Subscribe."
2021-06-26 10:10:23
Tomek
If you want to draw a line that is perfectly vertical, press the Shift key while dragging the mouse. This will limit the line drawn to vertical, horizontal, or 45°.
Got a version of Word that uses the ribbon interface (Word 2007 or later)? This site is for you! If you use an earlier version of Word, visit our WordTips site focusing on the menu interface.
Visit the WordTips channel on YouTube

FREE SERVICE: Get tips like this every week in WordTips, a free productivity newsletter. Enter your address and click "Subscribe."
Copyright © 2026 Sharon Parq Associates, Inc.
 Please Note:
This article is written for users of the following Microsoft Word versions: 2007, 2010, 2013, 2016, 2019, and 2021. If you are using an earlier version (Word 2003 or earlier), this tip may not work for you. For a version of this tip written specifically for earlier versions of Word, click here:
Please Note:
This article is written for users of the following Microsoft Word versions: 2007, 2010, 2013, 2016, 2019, and 2021. If you are using an earlier version (Word 2003 or earlier), this tip may not work for you. For a version of this tip written specifically for earlier versions of Word, click here:
Comments