Please Note: This article is written for users of the following Microsoft Word versions: 2007, 2010, 2013, 2016, 2019, and Word in Microsoft 365. If you are using an earlier version (Word 2003 or earlier), this tip may not work for you. For a version of this tip written specifically for earlier versions of Word, click here: Creating See-through Text Boxes.
Written by Allen Wyatt (last updated August 17, 2023)
This tip applies to Word 2007, 2010, 2013, 2016, 2019, and Word in Microsoft 365
Word allows you to create text boxes in your document. These can be used to create special document elements, such as sidebars or boxed text. There may be times when you want the text box to be transparent, meaning that whatever is behind the text box shows through. There are two ways you can handle this: you can either make the text box partially transparent or make it fully transparent. How you accomplish this depends on the version of Word you are using.
If you are using Word 2007, follow these steps to control the transparency:
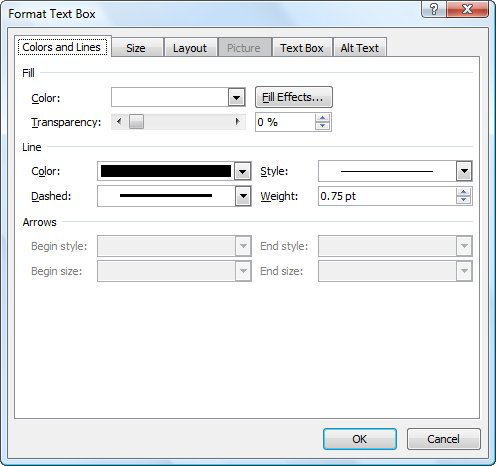
Figure 1. The Colors and Lines tab of the Format Text Box dialog box.
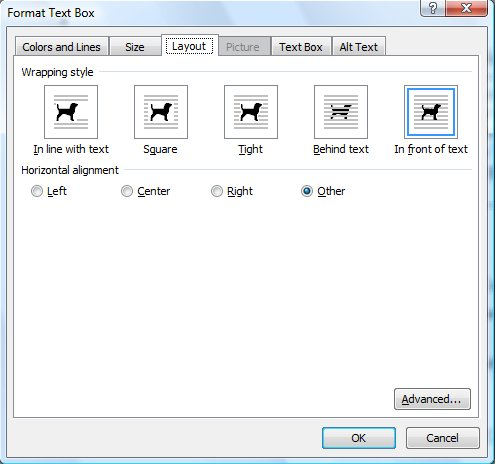
Figure 2. The Layout tab of the Format Text Box dialog box.
In Word 2010 the steps are a bit different:
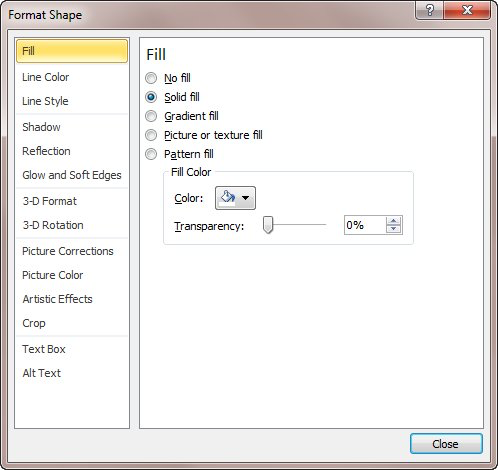
Figure 3. The Fill options of the Format Shape dialog box.
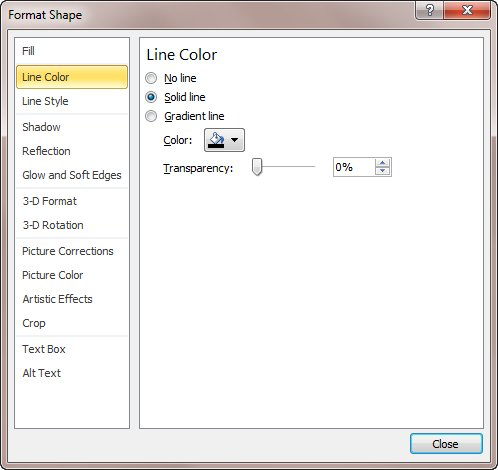
Figure 4. The Line Color options of the Format Shape dialog box.
In Word 2013 or a later version, the steps are even more different:
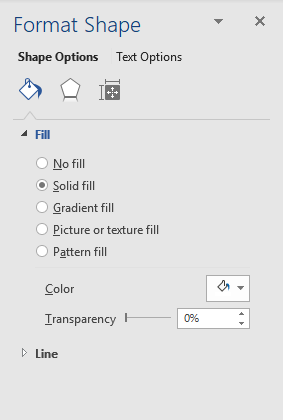
Figure 5. The Format Shape task pane.
WordTips is your source for cost-effective Microsoft Word training. (Microsoft Word is the most popular word processing software in the world.) This tip (12687) applies to Microsoft Word 2007, 2010, 2013, 2016, 2019, and Word in Microsoft 365. You can find a version of this tip for the older menu interface of Word here: Creating See-through Text Boxes.

Comprehensive VBA Guide Visual Basic for Applications (VBA) is the language used for writing macros in all Office programs. This complete guide shows both professionals and novices how to master VBA in order to customize the entire Office suite for their needs. Check out Mastering VBA for Office 2010 today!
Add some text boxes to your document, and you might be surprised if they don't appear when you print the document. If ...
Discover MoreText boxes are great for positioning information the way you want it to appear in your page layout. Fortunately, you ...
Discover MoreText boxes allow you to "segment" information in your document and lay it out differently. You can easily resize these ...
Discover MoreFREE SERVICE: Get tips like this every week in WordTips, a free productivity newsletter. Enter your address and click "Subscribe."
2019-12-01 03:54:05
Ron
Never mind, I found the answer. I had to highlight the text and change the formatting style to Normal and that made the paragraph background transparent.
2019-11-30 17:22:40
Ron
The problem I'm having is that even though the text box itself is transparent, the paragraph background is not. For example, I'm trying to put a text box with white text over an image that is mostly black, and I can't change the background of the paragraph to either transparent or black, so it looks like blocks of white instead of just the white text.
Got a version of Word that uses the ribbon interface (Word 2007 or later)? This site is for you! If you use an earlier version of Word, visit our WordTips site focusing on the menu interface.
Visit the WordTips channel on YouTube

FREE SERVICE: Get tips like this every week in WordTips, a free productivity newsletter. Enter your address and click "Subscribe."
Copyright © 2024 Sharon Parq Associates, Inc.
 Please Note:
This article is written for users of the following Microsoft Word versions: 2007, 2010, 2013, 2016, 2019, and Word in Microsoft 365. If you are using an earlier version (Word 2003 or earlier), this tip may not work for you. For a version of this tip written specifically for earlier versions of Word, click here:
Please Note:
This article is written for users of the following Microsoft Word versions: 2007, 2010, 2013, 2016, 2019, and Word in Microsoft 365. If you are using an earlier version (Word 2003 or earlier), this tip may not work for you. For a version of this tip written specifically for earlier versions of Word, click here:
Comments